My welcome sign for the wedding was a piece of pine my cousin Dana had leftover from a shelf project. I sanded it on her back porch in October, got a splinter under my thumbnail, and printed the actual text on linen cardstock at the print place by the laundromat. Then I glued the paper to the wood with spray adhesive and held my breath. It stuck. Crooked by maybe a quarter inch, which I only noticed in the photos.
Here is what nobody warned me about the rustic thing. It looks easy because it is supposed to look a little rough, so you assume you can wing it. You cannot. A bad rustic sign just looks like a bad sign. The good ones have one trick going for them, and it is usually that the wood and the lettering were chosen to actually go together instead of grabbed in two separate panic trips.
So below are the ones I have used or handed to friends who were mid-spiral about decor. I print a test page on plain paper every single time, prop it against a chair, and walk to the far wall to see if it still reads. A couple of these are affiliate links. You grab one, a little change comes my way, and your wallet feels nothing.
Quick note, a couple of these are affiliate links. If one ends up at your reception, it helps keep this little blog running and you pay the same.
The door sign I propped on an easel and prayed
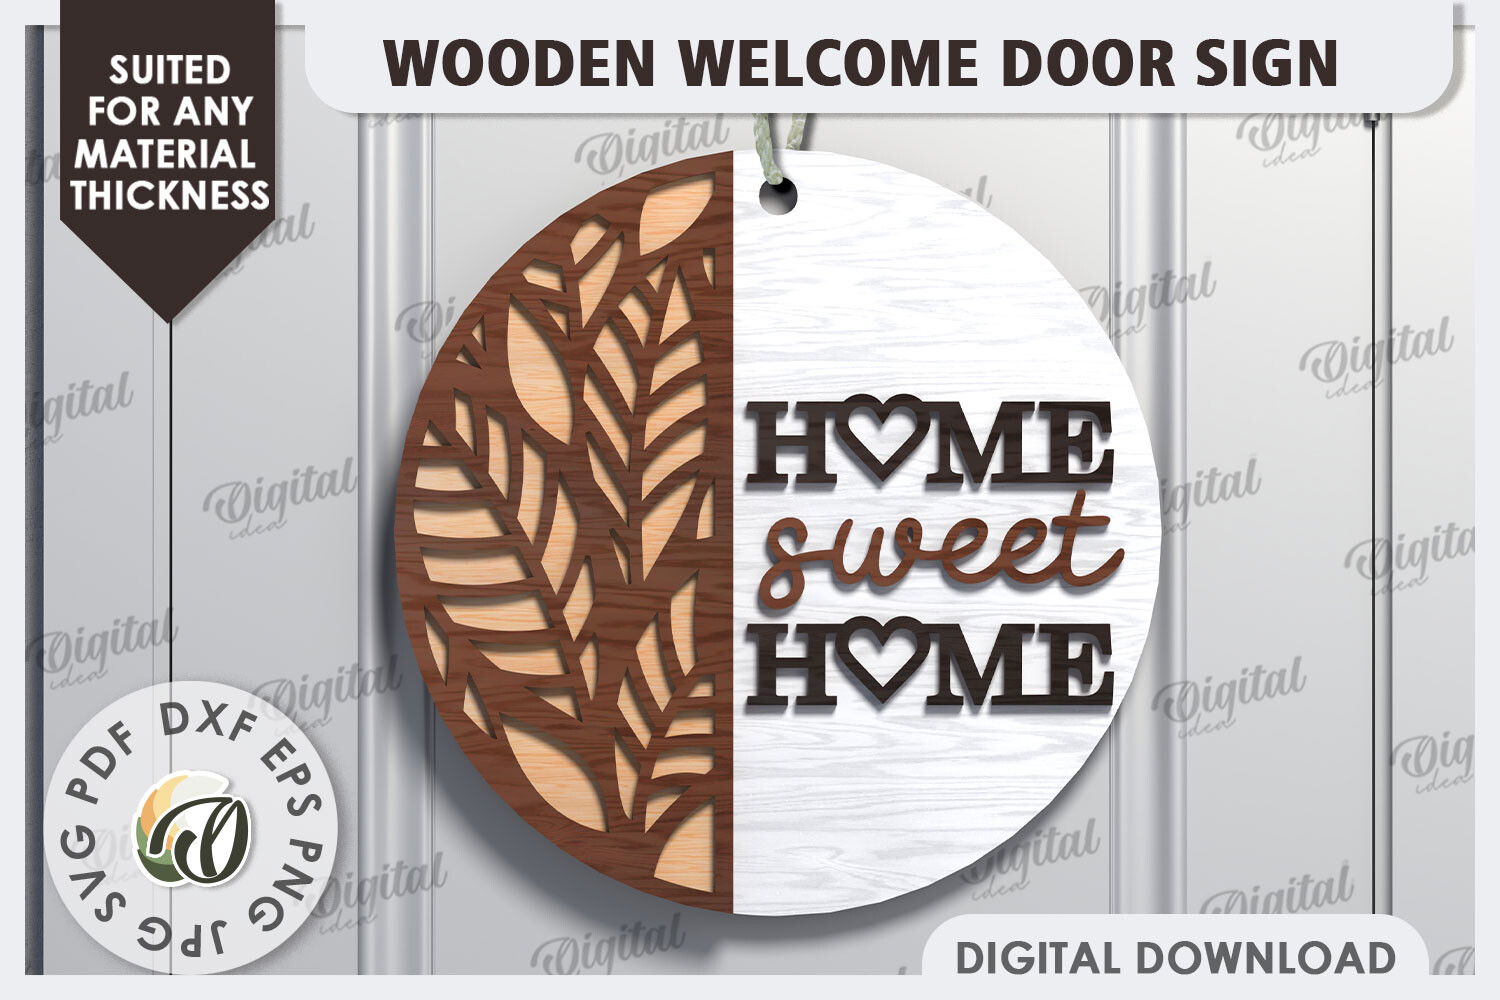
I used a laser-cut wooden welcome at the entrance, the kind where the letters are cut clean out of the board so the wall shows through behind them. It catches light in a way printed text never does. My venue had a brick archway and you could see the brick through the W. People kept touching it, which I did not expect.
Dana helped me hang it the morning of, and we argued for ten minutes about whether it was level. It was not. We pretended it was a design choice.
One gripe. Laser-cut letters collect dust in the corners fast, so if it sits out the day before, wipe it down with a dry cloth right before guests show. Took me one dusty photo to learn that.
A second welcome, because I am indecisive
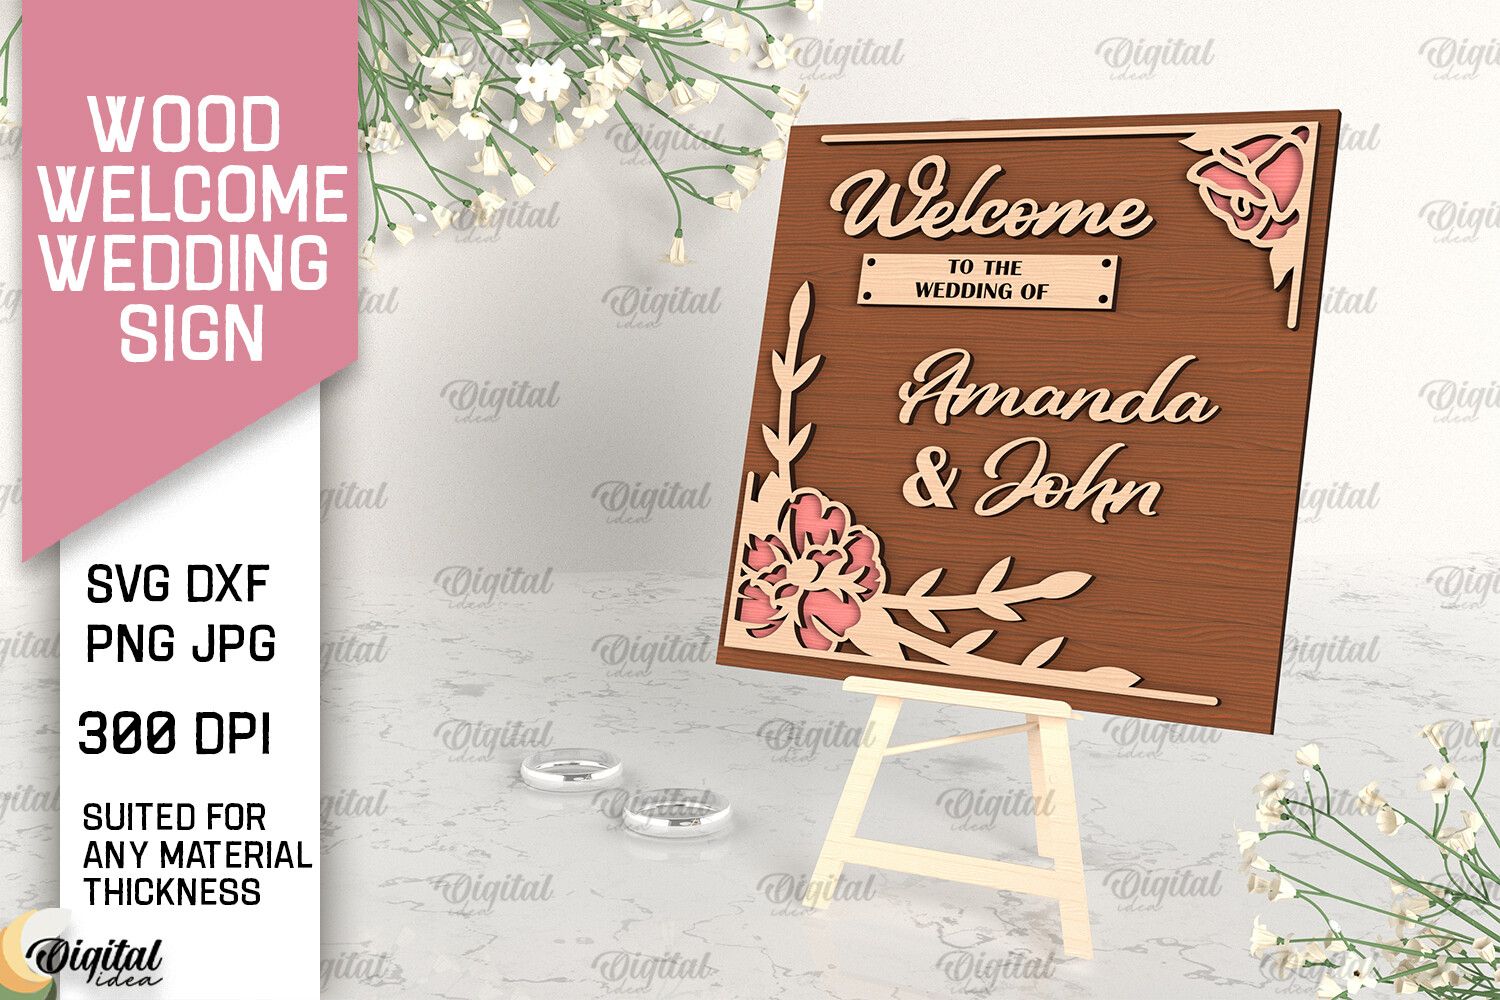
This wood welcome wedding sign is the one I almost went with first. Slightly chunkier lettering than the door version, so it holds up from across a parking lot. My friend Priya borrowed the file for her backyard thing in May and stained the board a darker walnut before mounting it. Looked nothing like mine, which is the point.
She paid eleven dollars at a hardware store for the wood and the rest was an afternoon.
Catch is the script tails. They are thin where the letters curl, so on a soft pine they can splinter at the narrow points. Pick a denser board or seal it first.
Summer board for the couple getting married in a field
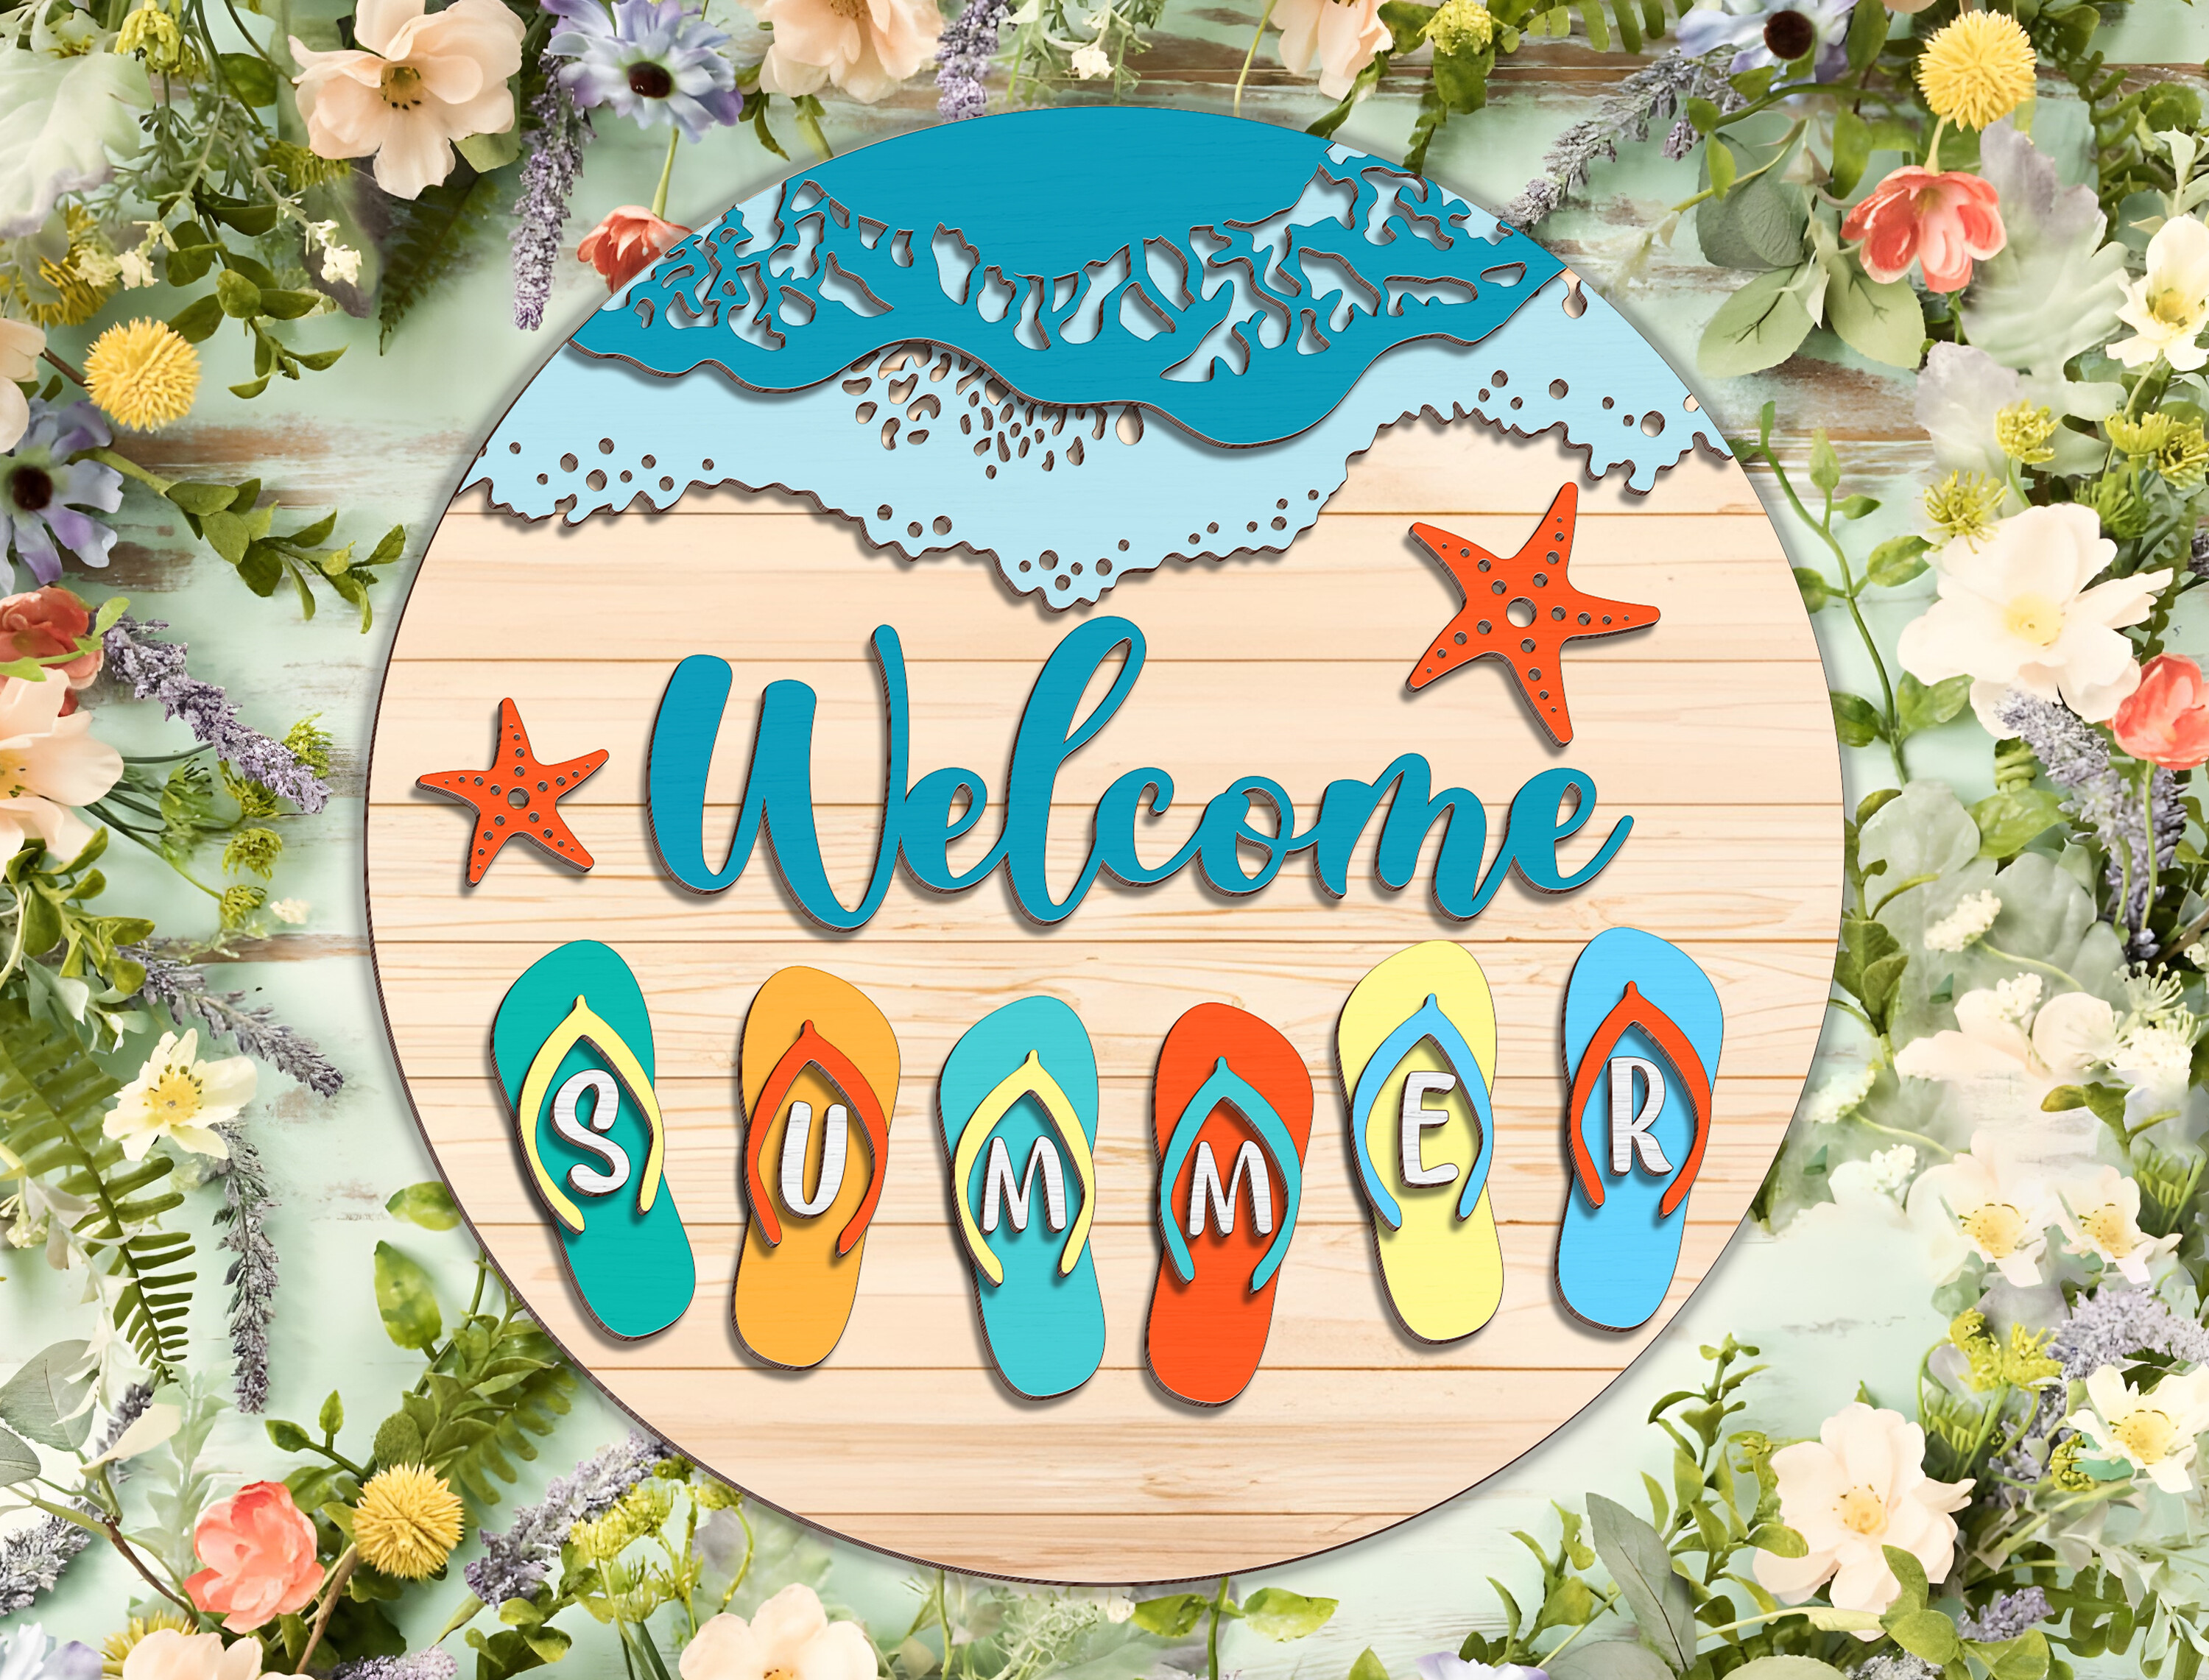
Okay, this welcome summer wood sign reads more seasonal, sunnier, leans into the warm-weather garden look. I gave it to a coworker doing a June ceremony at her parents’ farm. She wanted something that did not scream formal, and this matched the wildflower mess she was going for.
She set it on a hay bale by the gate. It rained for an hour beforehand and the board warped a touch but nobody cared.
Gripe, the summer styling locks it in a bit. A winter wedding would look odd with this one, so it is a warm-months pick and that is that.
The rustic one when you want it to look planned
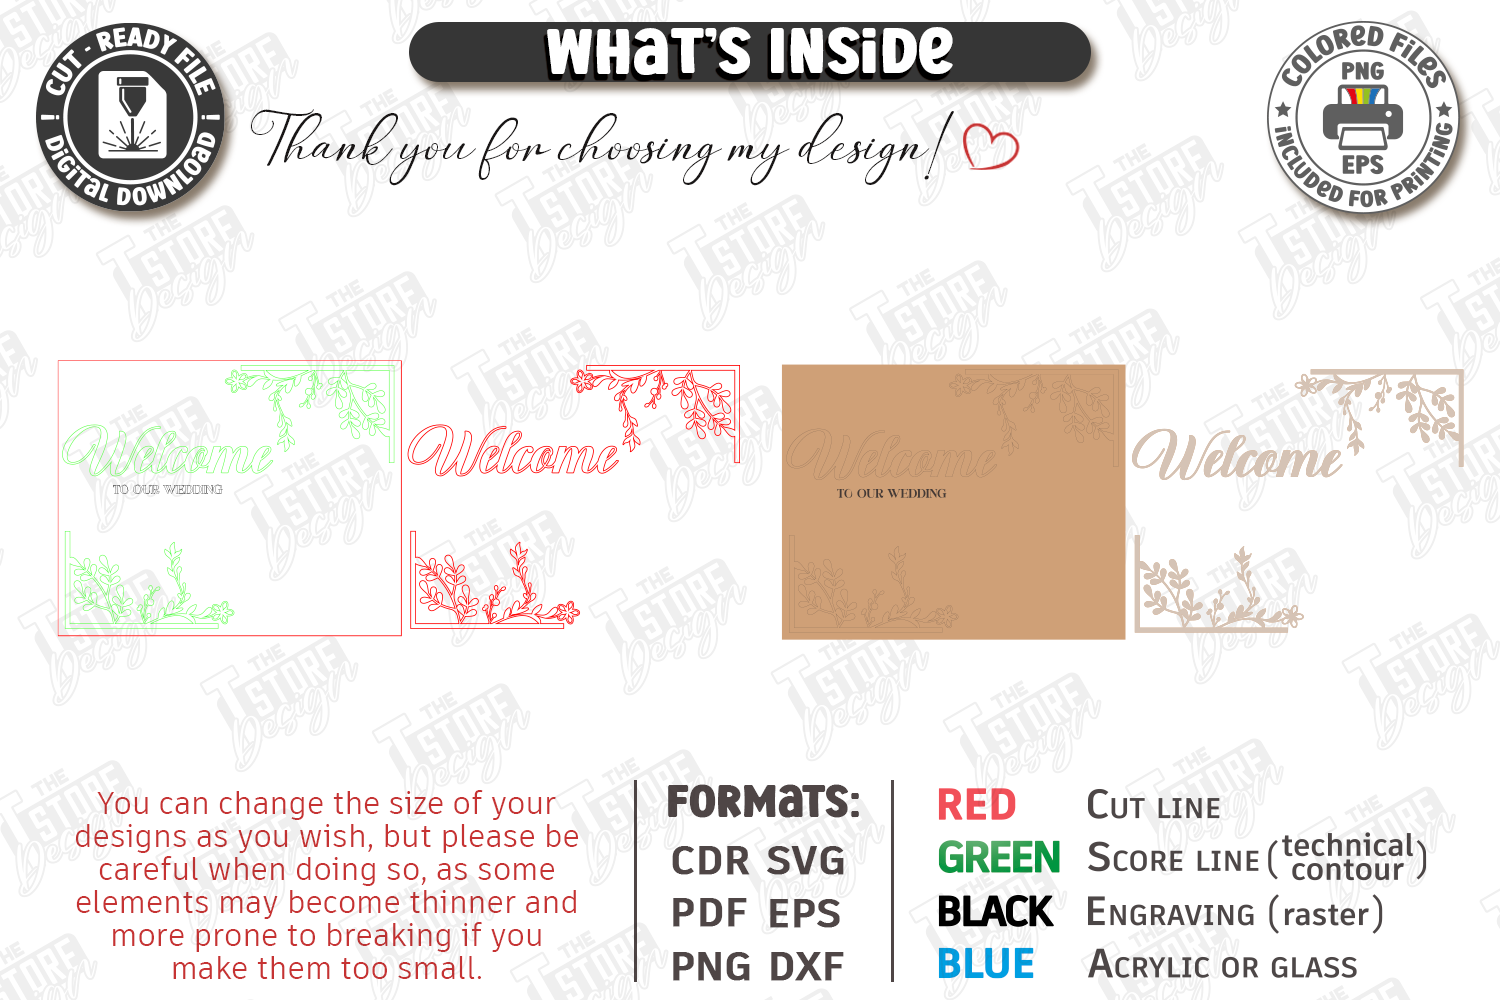
If you want the word rustic baked right in without it tipping into shabby, this laser-cut rustic welcome is the safe call. The lettering has a hand-lettered slant but it is even, so it does not read as messy. I sent it to my maid of honor, who has zero patience for fiddly setup, and she had it up in under an hour.
She mounted it on a thrifted barn-door panel she found for nine bucks.
The nitpick. The rustic styling assumes a raw or lightly stained wood behind it. Put it on something glossy or painted white and the whole effect collapses. Match your base to it.
Not a wedding sign, but I used it as one anyway
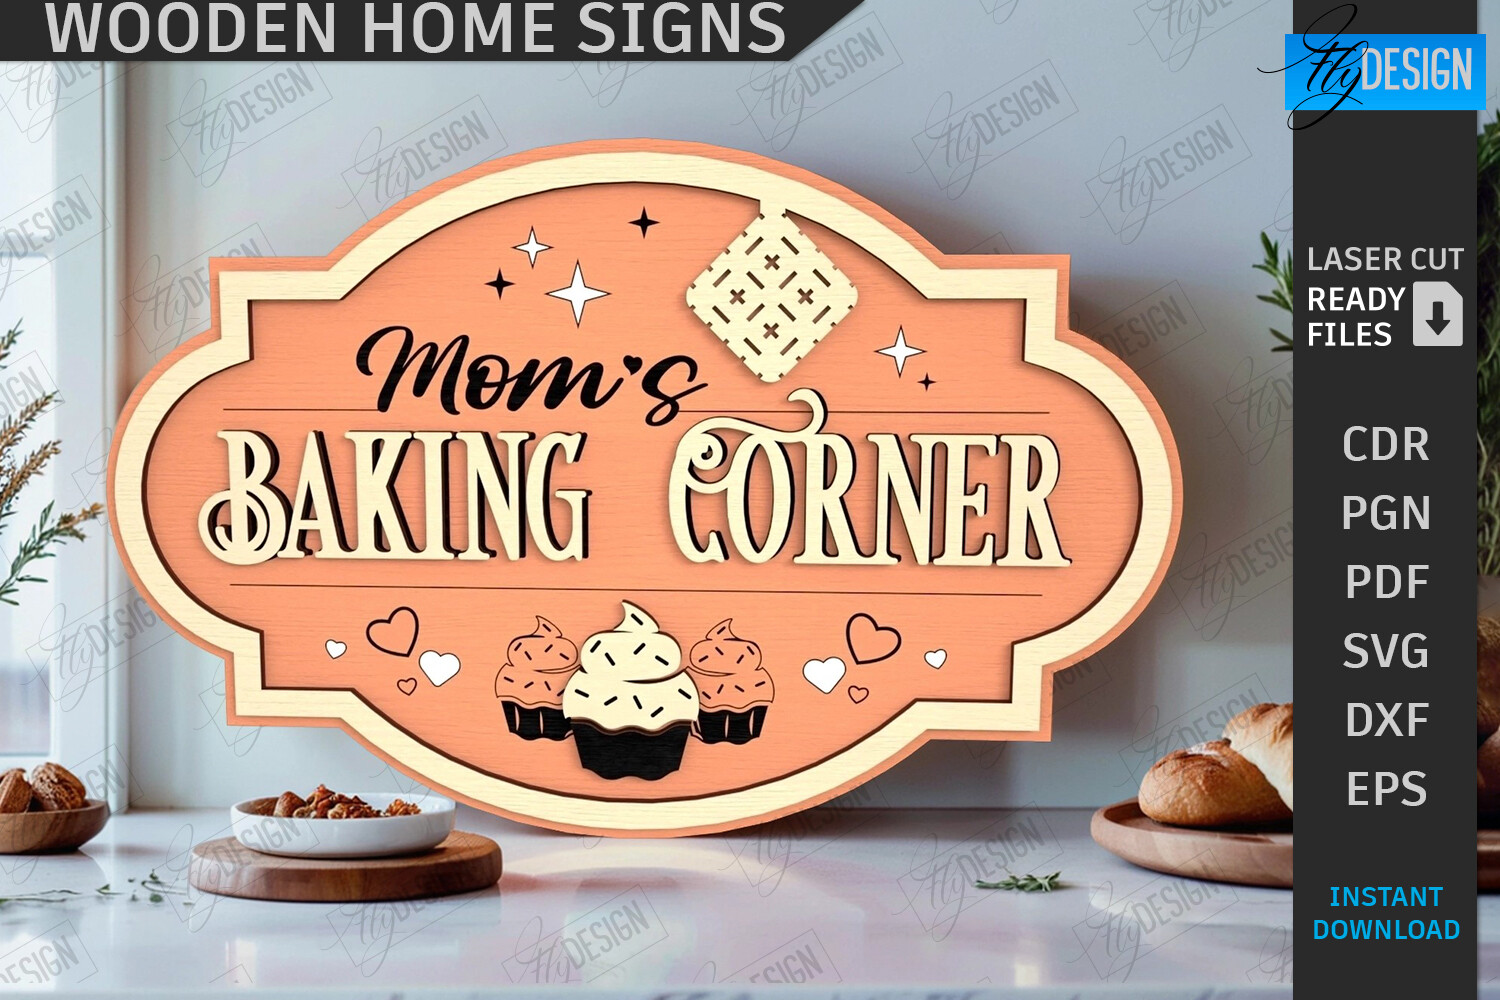
These wooden home signs with the family lettering are technically for, well, your house. I cut one with the couple’s new shared last name and stood it on the gift table. Read as a wedding piece instantly because the surname did the work. Nobody questioned it.
My neighbor did the same for her brother’s reception and added the wedding date underneath in a smaller line.
One thing, the family SVG comes set up for a household name, so you are doing a little editing to drop in a date or two first names. Not hard, just a step you should know about going in.
The flag I did not plan to love
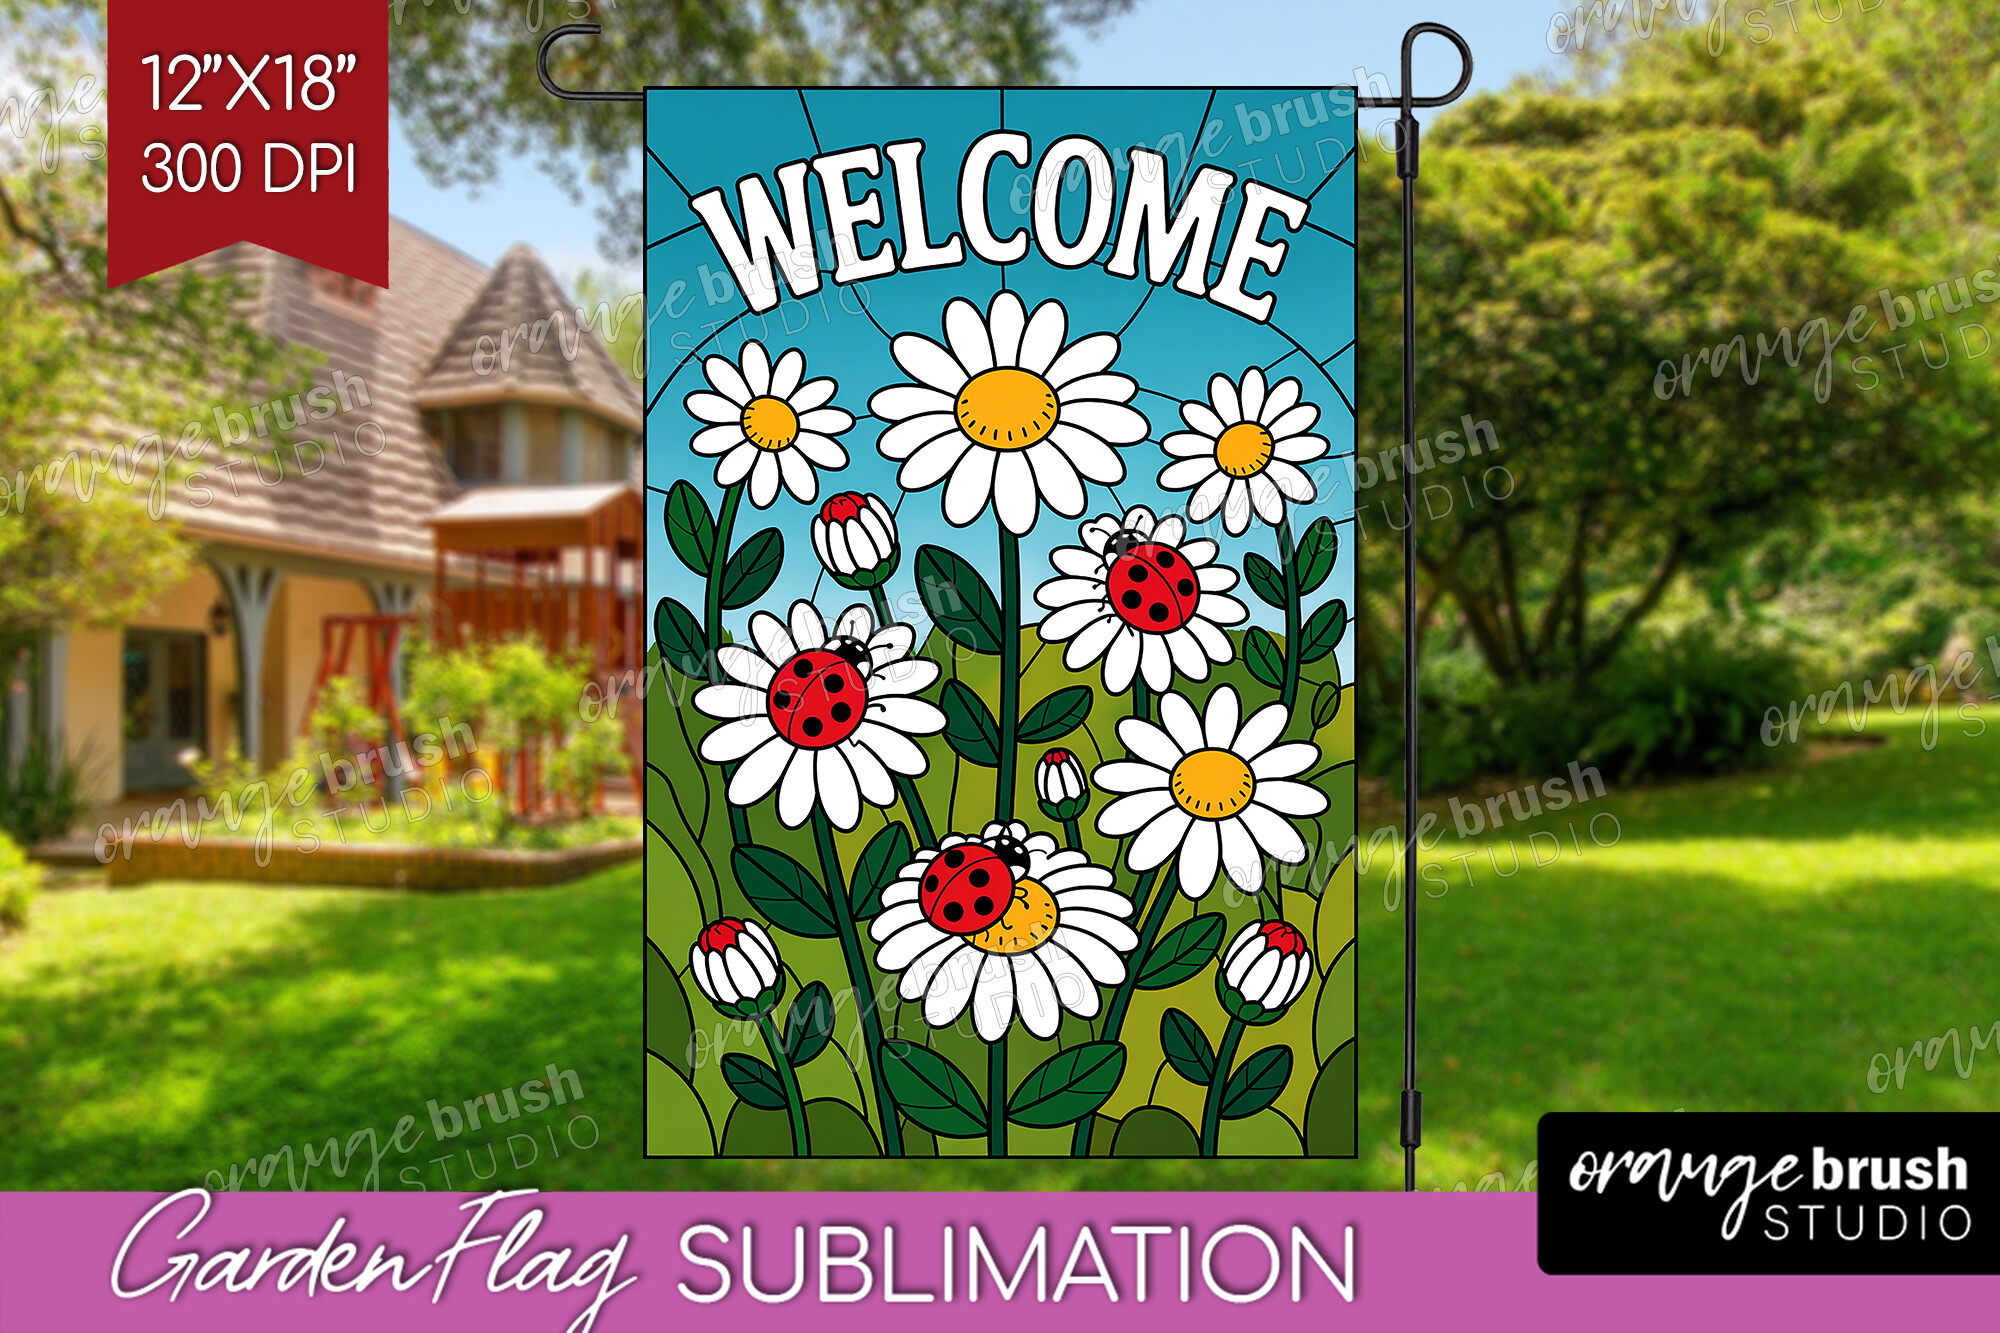
This summer garden flag was an accident. I bought it thinking I would use it at home, then stuck it in the ground along the path to the ceremony chairs and it tied the outdoor look together better than half the stuff I actually planned. Soft fabric, garden styling, moves a little in the wind.
Priya borrowed this one too and ran three of them down her driveway as a makeshift aisle marker.
Gripe is fabric, not wood, so it leans pretty and casual rather than the solid heavy-wood look. If your whole theme is rough timber, this flag will feel like the odd one out.
The little add-ons that saved my other signs

This is a clipart set of rustic wood-look elements, and it is the thing I reach for when a sign feels bare. Wood-grain bits, small accents, the kind of detail you drop into a corner so the layout does not look empty. I used a sprig from it on my seating chart and on the bar sign so they matched.
My cousin used the same set across her invites and her welcome sign, which made the whole day feel like one set instead of seven random prints.
The catch, it is art pieces, not a finished sign. You are placing these yourself in whatever you make, so if you want a ready-to-print board, this is not it. It is the seasoning, not the meal.
Questions Brides Ask Me
How do I make rustic wedding signs?
I cheated honestly. I print the words on linen-finish cardstock at the copy place, then glue the paper to a piece of raw or lightly stained wood with spray adhesive. The wood does all the rustic heavy work and the printed part stays crisp.
If you want the fancier route, a laser-cut wooden sign skips the gluing entirely. The letters are cut from the board itself. More upfront fuss, way better photos.
What base fits rustic?
Raw pine, reclaimed barn wood, a thrifted panel, anything with visible grain. I paid nine dollars for an old shelf board at a junk shop and it photographed better than anything new.
Stay away from glossy or bright-white painted surfaces. I tried a white board once for a friend and the rustic lettering just looked confused on it. Match the base to the styling and you are most of the way there.
Printable or painted?
Printable, ninety percent of the time. I have a shaky hand and hand-painted lettering on wood went badly the one time I attempted it, around midnight, with a brush that was too wide.
Print the text, mount it on the wood, done in an evening. Painting looks amazing when someone with actual skill does it. For the rest of us, printable is the forgiving option and nobody at the reception is checking.
Before You Hit Print
None of these are hard, which is the trap. You will look at a piece of wood and a printable file and think you can throw it together the night before. Maybe you can. I could not, fully, and Dana’s porch has the splinter story to prove it.
Pick the base and the lettering as a pair, print one plain test page, walk across the room, and squint at it. If it still reads from over there, you are good. Glue it on and stop fussing.