We mailed our save-the-dates in a hand-script font I downloaded for free at 2am. Cute. Then I picked the actual invitation, and it shipped with a totally different lettering, and suddenly my fridge had two weddings pinned to it that did not know each other. My mom noticed before I did. She held them side by side and went, huh, are these the same event.
That is the whole thing with a suite. The invite, the RSVP card, the details card, the menu, the little tag on the favor. Get them talking to each other and it reads like you hired someone. Let them drift and it reads like a stack of nice paper that happened to arrive together. I learned this the slow way, sitting on my apartment floor in Greenpoint with seven printouts fanned out, trying to figure out why they felt off.
These are the templates and font and clipart sets I actually pulled to fix it, plus the ones I would grab again if I were starting from a blank screen tomorrow. I print a test page on plain paper, prop it against the toaster, and walk to the other side of the kitchen to see if it still holds. Some of the links are affiliate links, so if you grab one a little bit comes back to me. You pay the same.
Heads up, some links here are affiliate links. Grab a template through one and I get a small cut, no extra charge to you.
Start with one set that does the whole suite
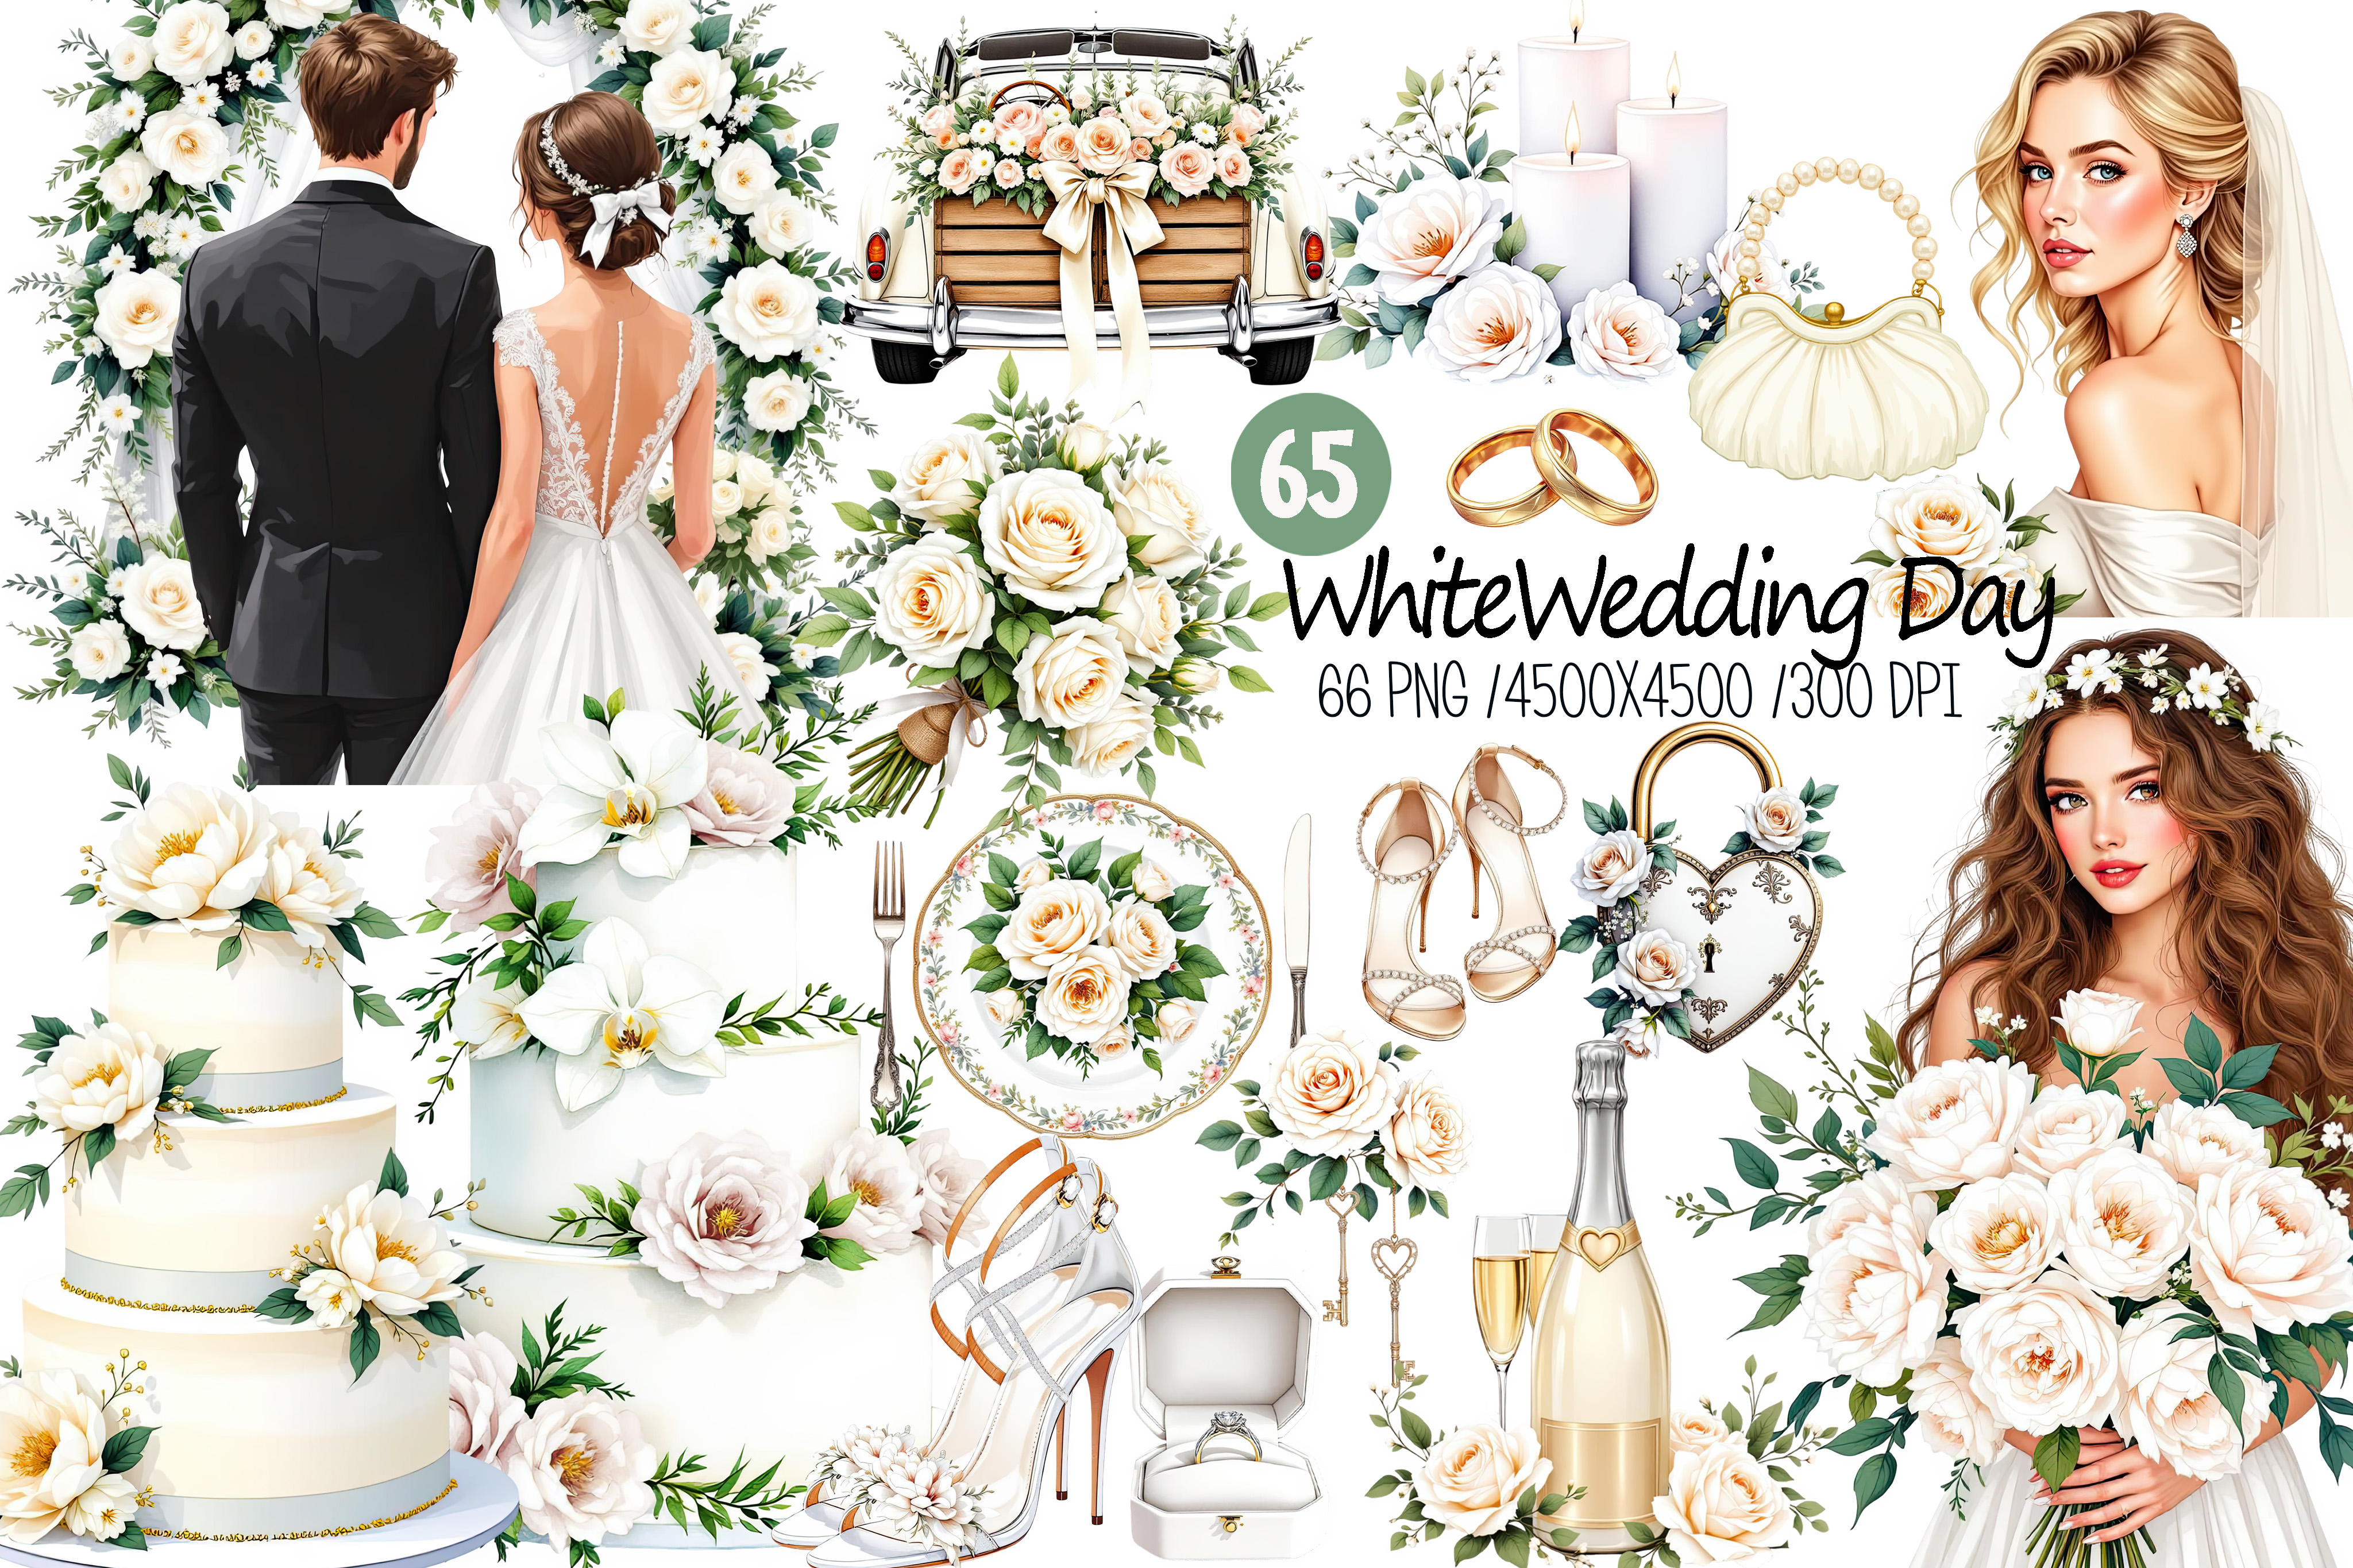
If you only buy one thing, make it a full set where the invite, the RSVP, and the details card already share a layout. This was mine. White Wedding Day. The margins are generous, which matters more than people think, because my home printer eats anything that runs to the edge and I have lost a card to a chopped-off date before.
I typed our names in, swapped the placeholder text, printed one on copy paper, and lived with it taped to the bathroom mirror for three days. By day three I stopped seeing problems, which is how I know it was done. Then I sent the file to a copy shop on Manhattan Ave because mine streaks on anything near black.
One gripe. The default spacing between the names and the date sits a touch tight on a 5×7. I nudged it up two points. Took fifteen seconds once I found the right text box, longer than it should have to find the box.
Pick the font before you pick anything else
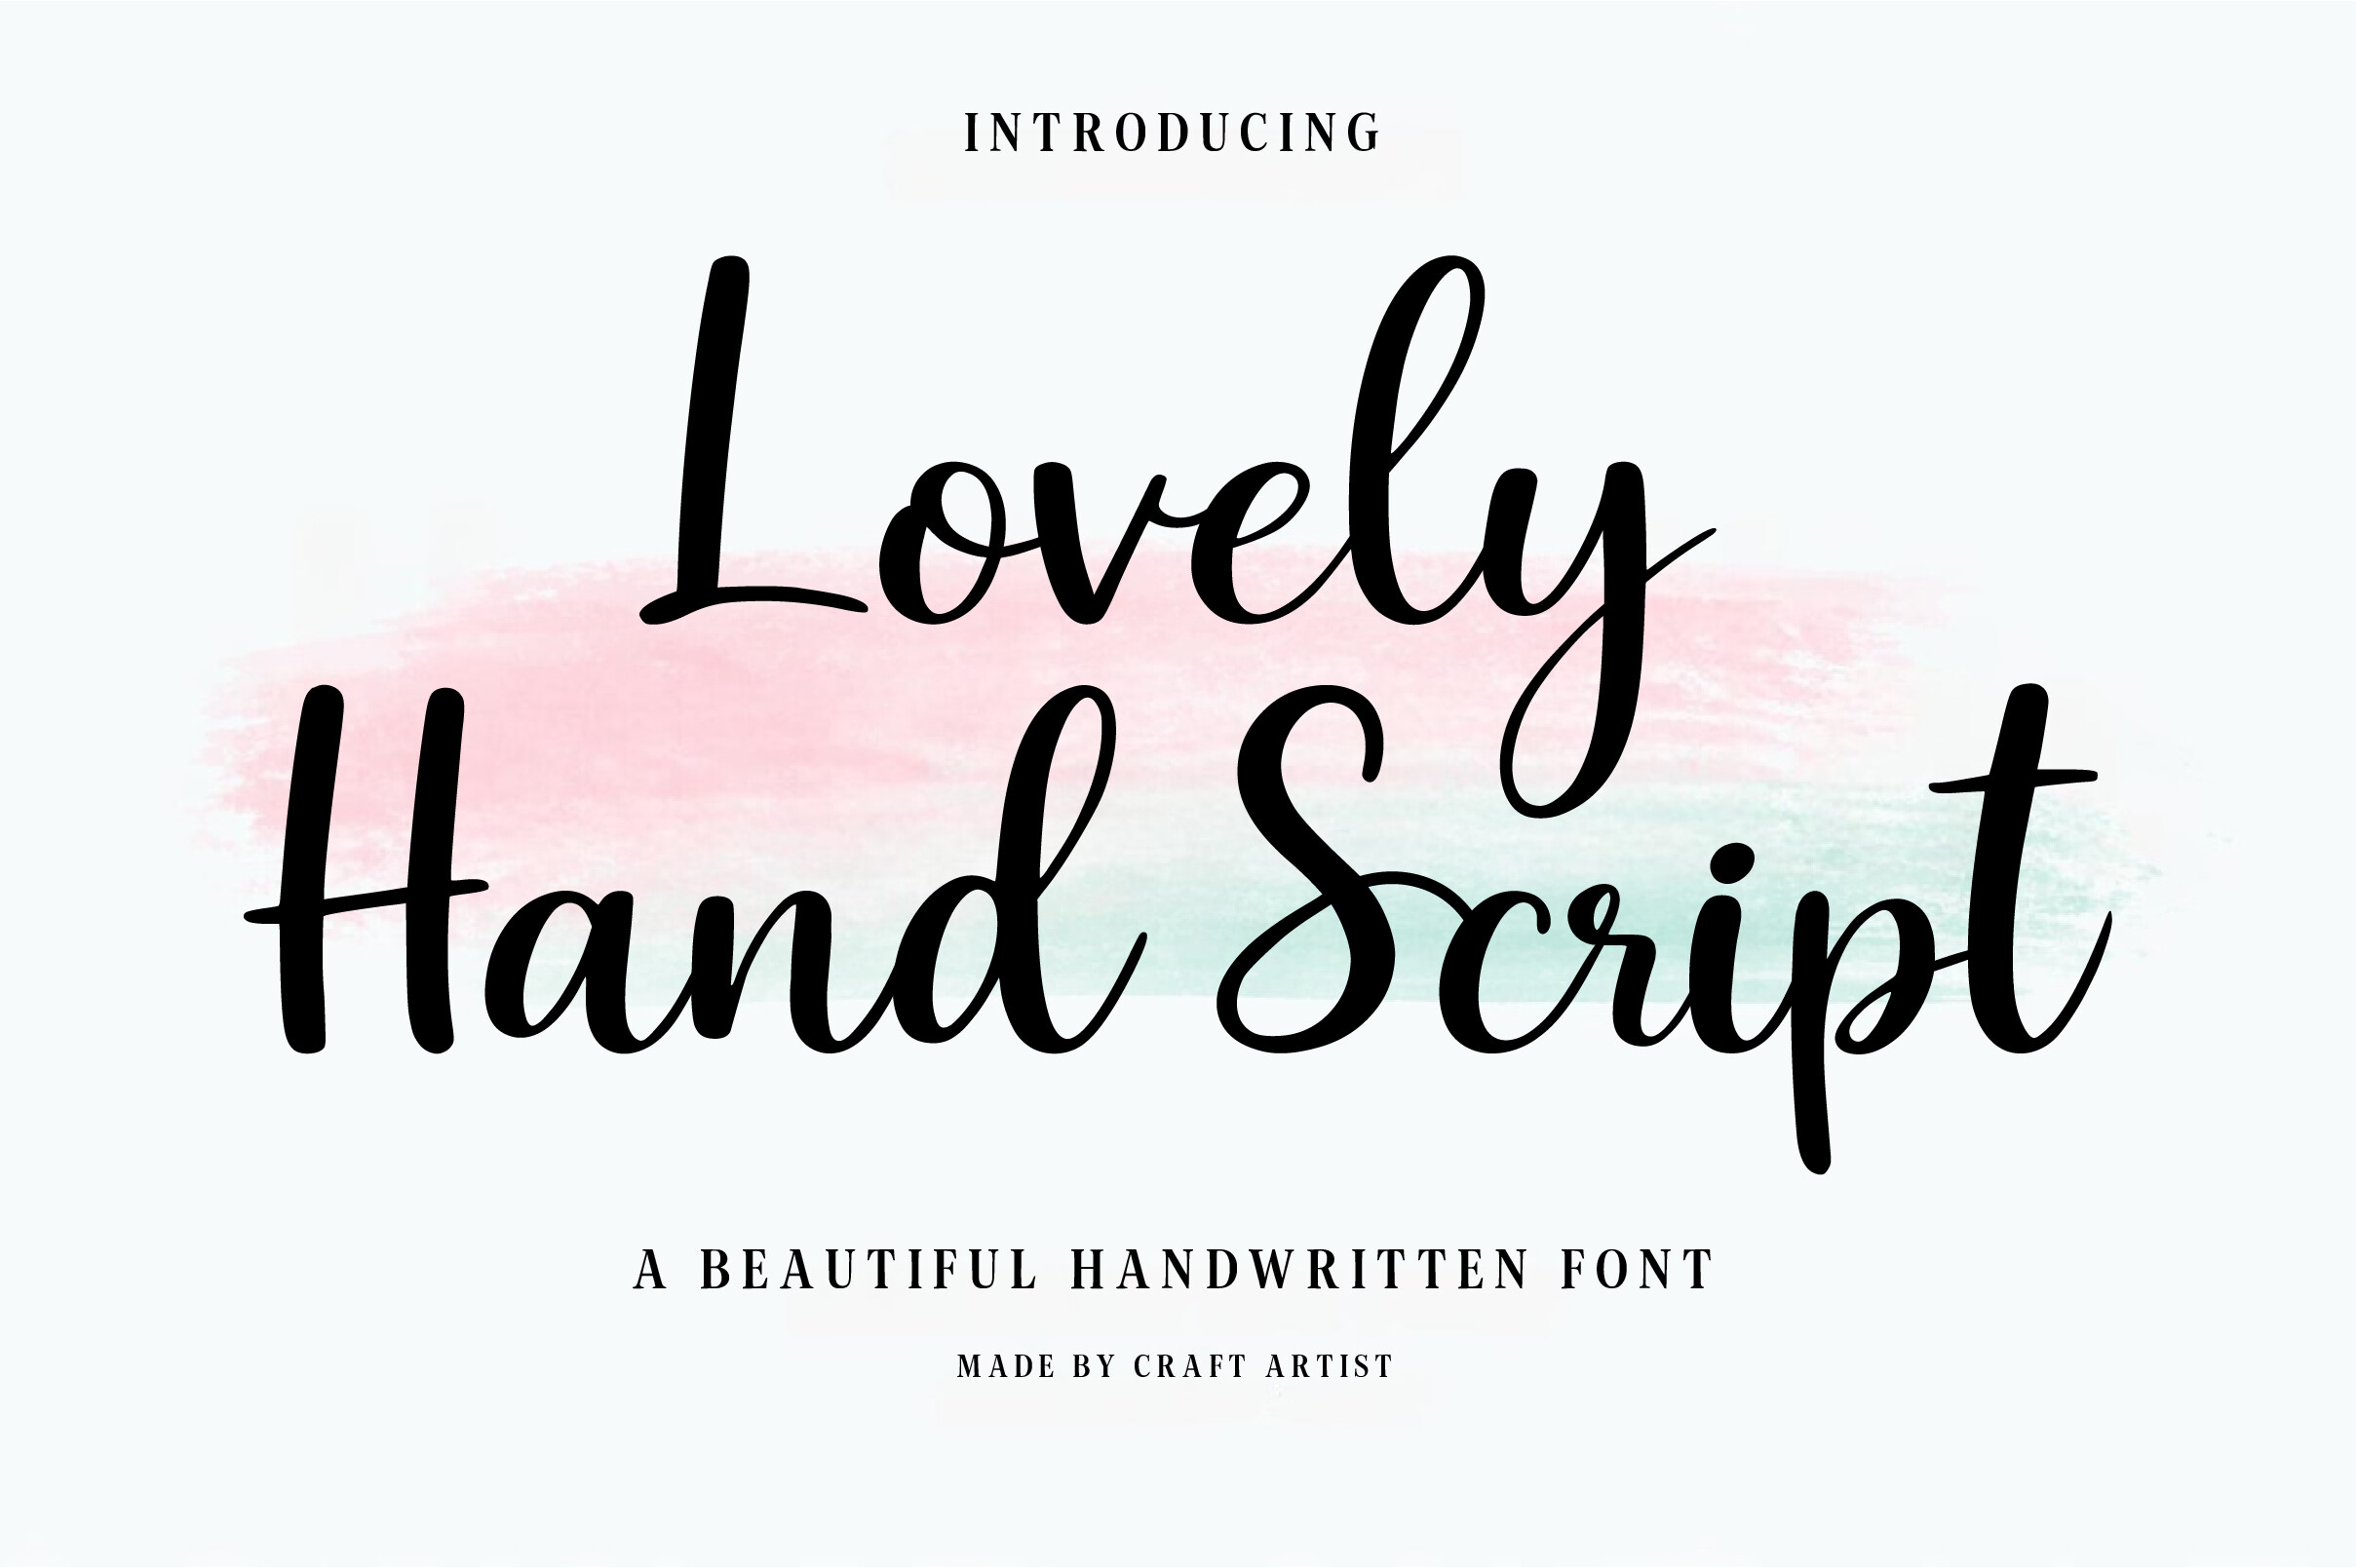
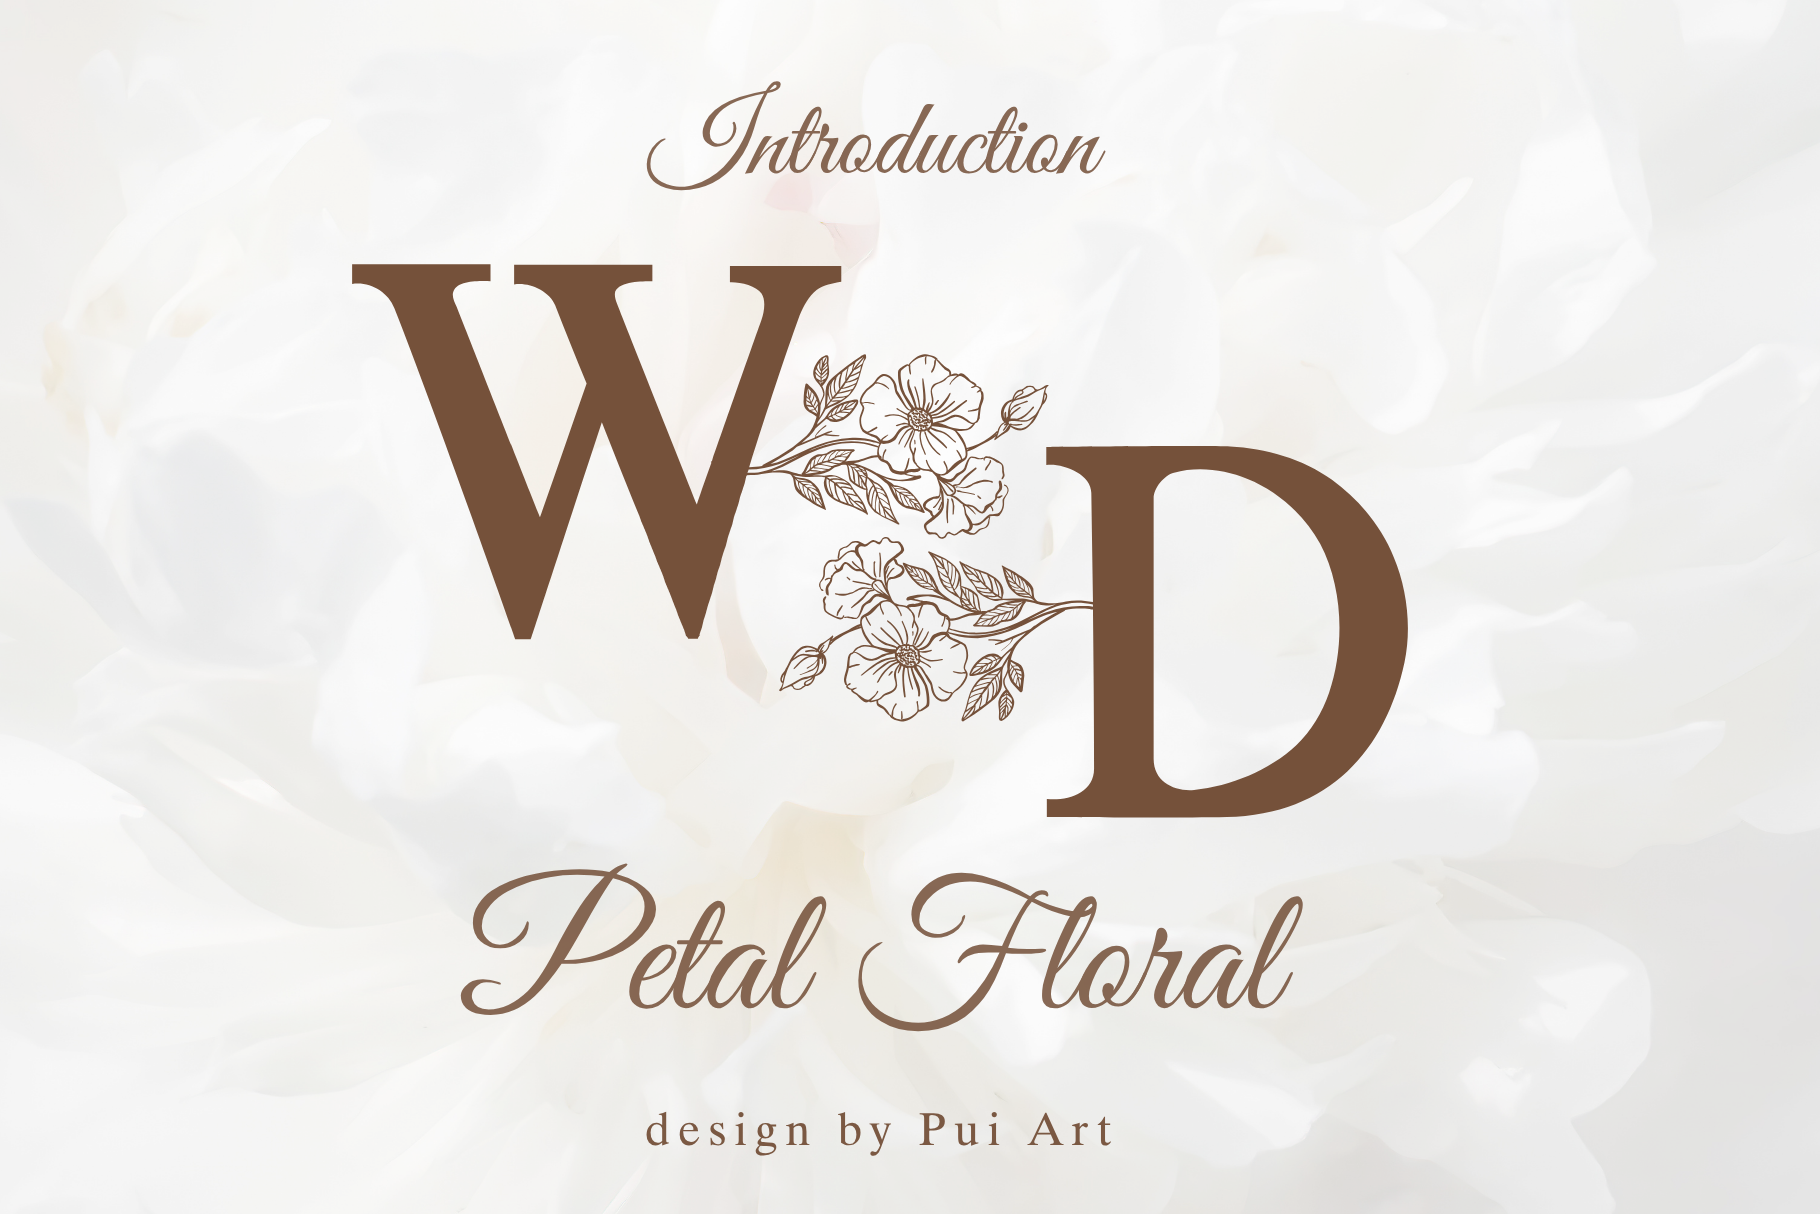
Here is the mistake I made first. I chose colors, then flowers, then went font shopping last, and nothing lined up. Do it backwards. Lovely Hand Script became the thread I ran through every piece, the names on the invite, the table numbers, the one word on the welcome sign.
It has actual personality without going full calligraphy-you-cannot-read. My uncle could still make out the names from across the room, which was the bar after a different script I tried looked like a heartbeat monitor. I set it big on the invite and small on the menu and it held up at both sizes.
The catch is the lowercase l and the lowercase e get cozy at small sizes. On the favor tags I bumped the letter spacing a hair so nobody read our last name wrong. Fussy, but the tags were tiny and I am petty about my own name.
A border that pulls the loud cards back in line
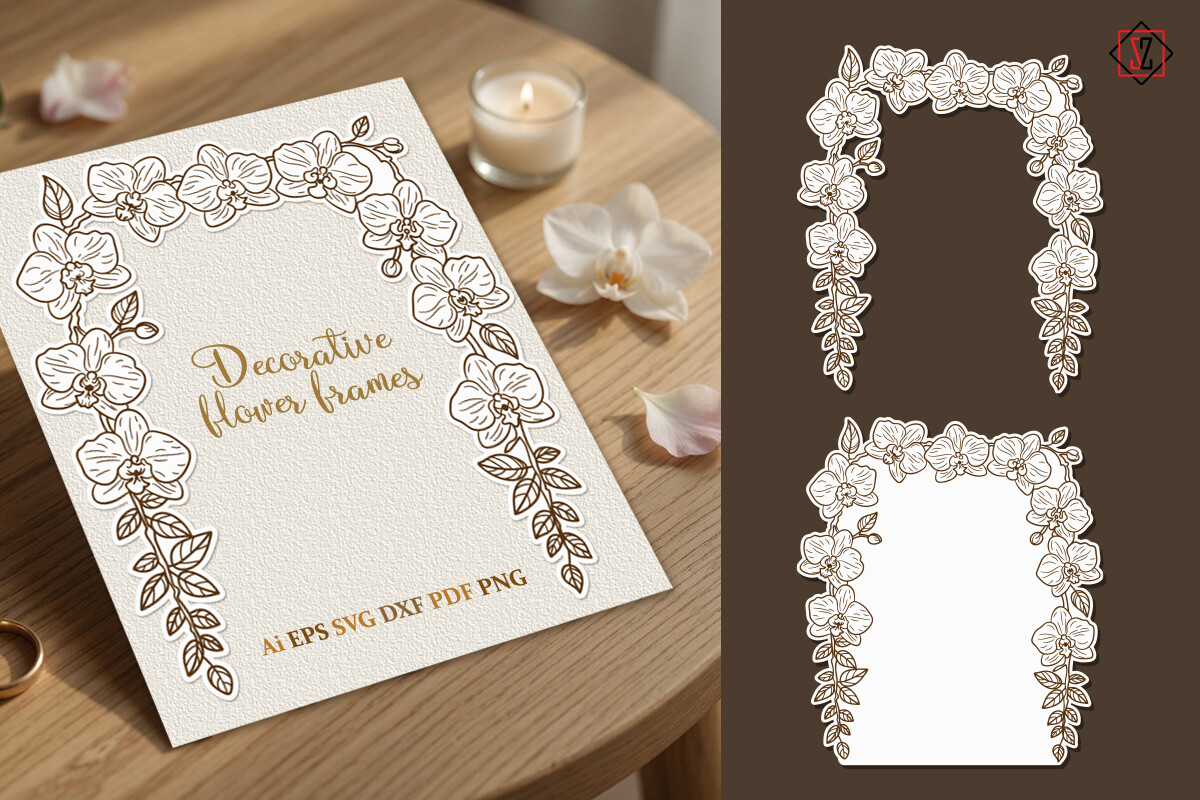
The details card always wants to be the chaotic one. Too much text, parking and hotels and the wifi password for the rehearsal dinner. I dropped the Orchid Floral Frame around it and the whole thing calmed down. Same frame, lighter weight, went on the menu too, so they read as siblings.
What I did was set the frame on every insert at slightly different scales, big and bold on the invite, faint and thin on the RSVP. Cohesive without being matchy in that stiff way. I printed the inserts on a warm ivory stock, 120gsm, because pure white next to my dress photos looked cold on the table.
Downside, the orchids are detailed, so a cheap printer can muddy them into a green smear. I ran my first batch at home and regretted it. The copy shop version, on a real machine, looked like I paid a stationer.
Where the unexpected set saved me money
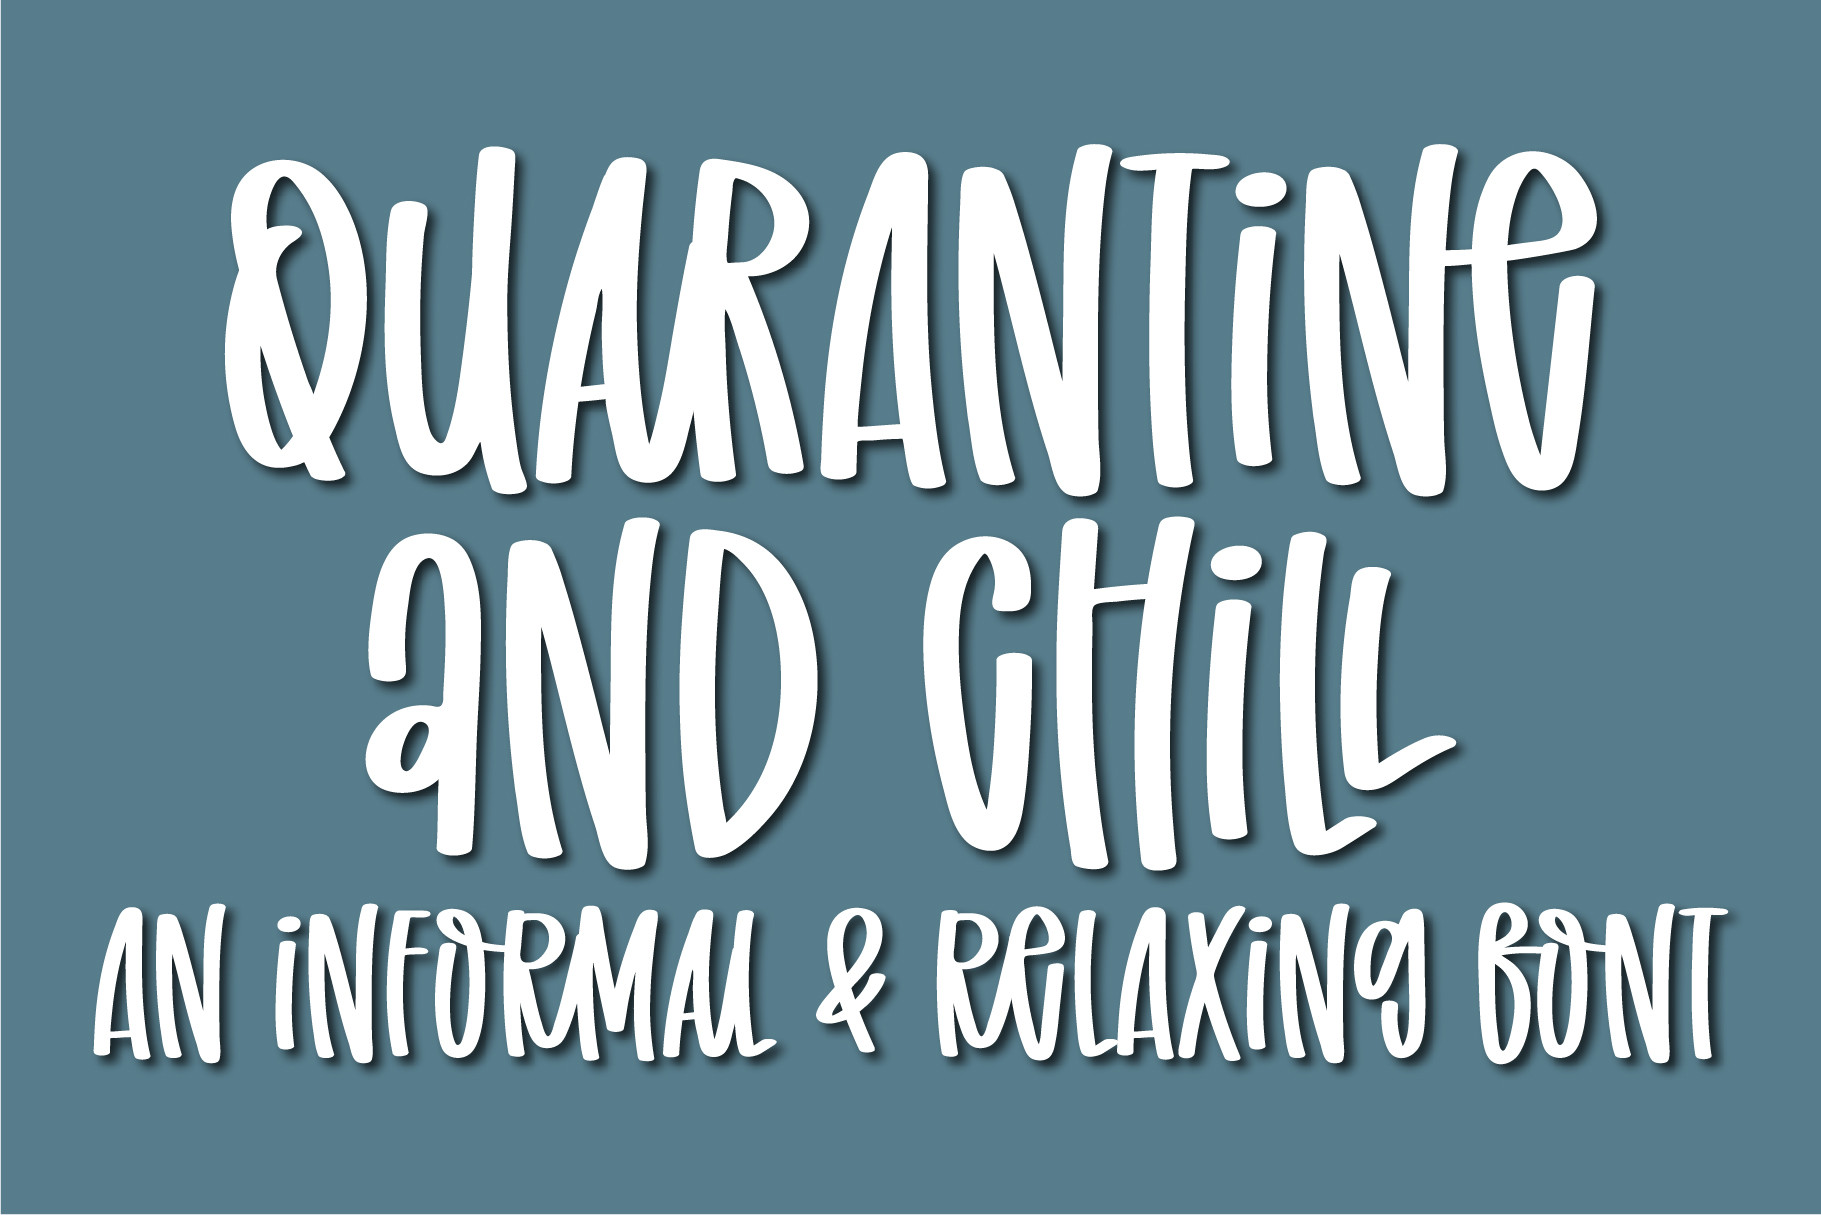
Stay with me, the name is goofy. Quarantine and Chill turned out to be a handful of casual layout pieces I cannibalized for the parts of the suite nobody frames. The bar menu. The little card on the gift table. The sign-in instructions for the guestbook.
Not every piece of a wedding needs the fancy treatment. I used the relaxed style here for the throwaway cards and saved my nice cardstock for the invite and menu. Guests do not study a bar sign. They read three words and go get a drink. So I printed these on plain paper, taped them to a black frame from the dollar store down the block, and called it.
The gripe is small. The pieces lean modern, so they clashed with my floral inserts until I stripped the color and ran them in straight black on cream. Once they went monochrome they slid right in next to everything else.
Two initials that quietly show up everywhere
A monogram is the cheapest way to make a suite feel like one wedding. The Petal Floral Monogram took our initials and wrapped them in a small floral mark, and I stamped it on basically everything. Wax-seal sticker on the envelope. Corner of the menu. The back of the RSVP card.
I did our two letters in the soft pink from the petals and printed a sheet of them on sticker paper at home. Forty stickers. Twelve survived my first peel because I was impatient and the rest tore, so order extra sticker sheets, learn from me. Once I slowed down it was fine.
My one note, the floral surround crowds the letters if both your initials are wide, like a W and an M. Mine were a J and an A so I got lucky. Test your actual letters before you print a stack, not the sample ones.
The clipart that filled the awkward empty corners
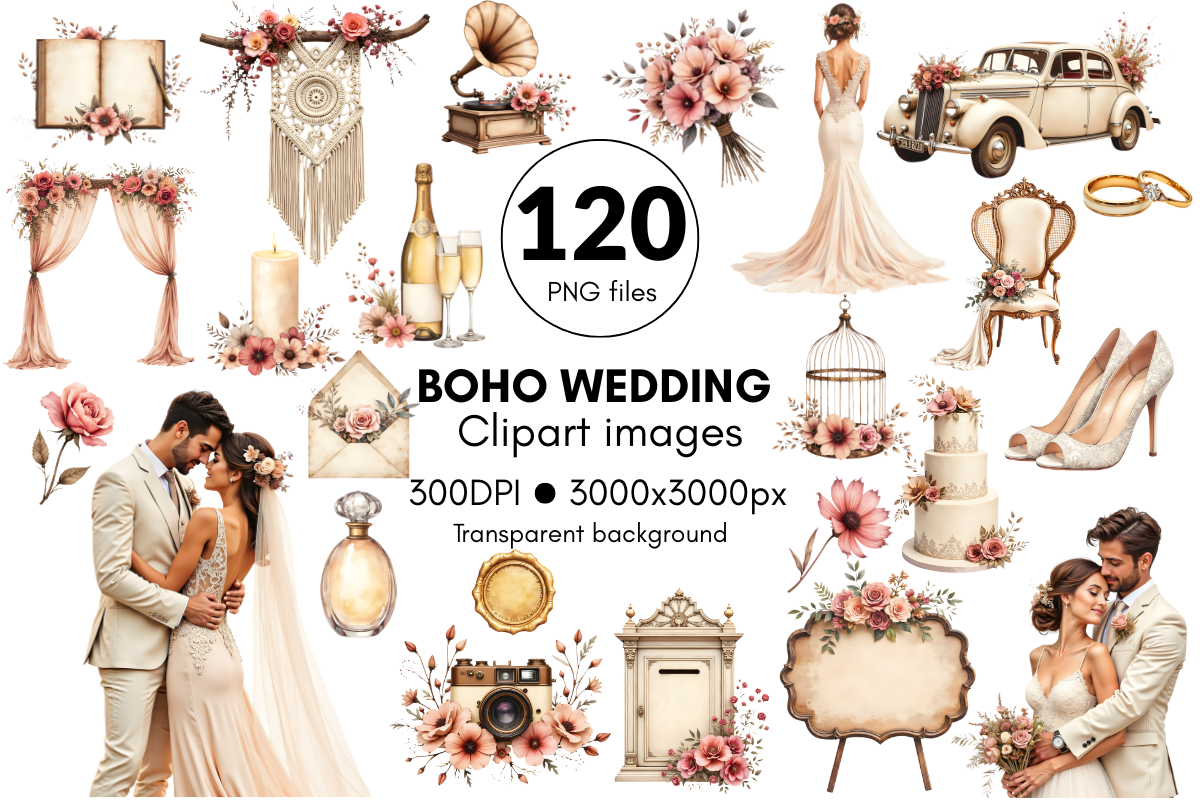
Every layout has a dead spot. The bottom of the RSVP, the gap under the menu header. I kept reaching for this Boho Wedding clipart, dried grasses and little leafy sprigs, to fill those without piling on more text. Sparse, though. I have seen people drown a card in this stuff.
One sprig in a corner. That was my rule. I dropped a single element low and left it, and the card stopped looking unfinished without looking busy. I matched the line color to the Lovely Hand Script ink so it read as part of the same family and not a sticker someone slapped on.
The annoyance is the file count. There are a lot of individual pieces and the naming is vague, so I spent an evening just opening them to see what was what. Make yourself a quick folder of the five you actually like and ignore the rest.
A second monogram for the soft, sentimental pieces
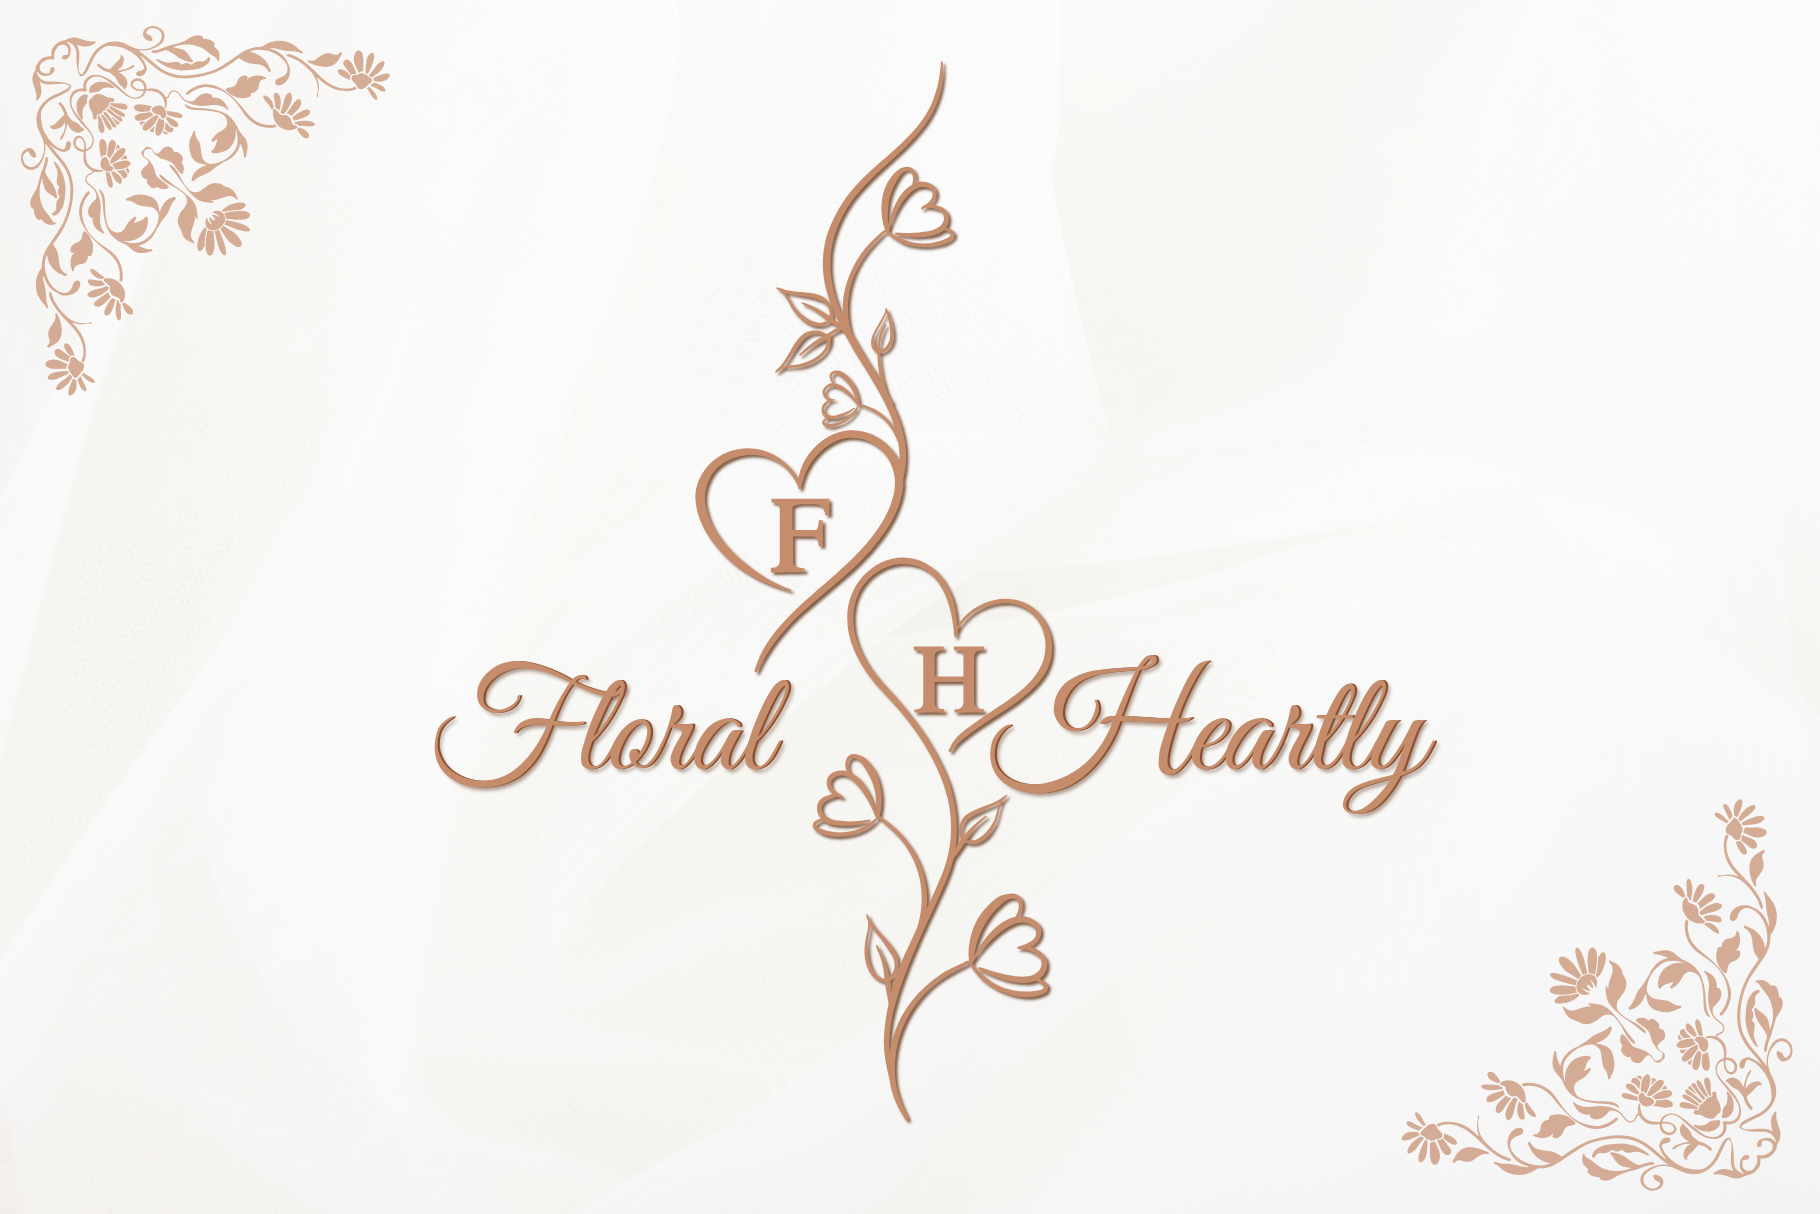
I ended up with two monograms and I do not regret it. The Petal one was my workhorse. This Floral Heartly Monogram, with the little heart worked into it, I saved for the pieces that were allowed to be sappy. The favor tags. The card tucked into my husband’s getting-ready box. The thank-you notes after.
It is warmer than the petal version, rounder, so it would have been too sweet on the formal invite but lands right on the personal stuff. I printed the thank-you cards months later on the same cream stock so the whole thing still matched even after the wedding was over. That tiny continuity made me weirdly happy.
The one fix, the heart can vanish if you print it too small. On the favor tags at one inch it just looked like a smudge. I sized it up to an inch and a half and suddenly you could tell it was a heart. Print it bigger than you think.
Questions Brides Ask Me
What is a wedding invitation suite?
It is just all the paper that goes out together for one wedding. The invite, the card people mail back, the details card with parking and timing, sometimes a menu or a map. I did not even know the word until a friend asked me to help with hers and I had to go look it up.
Think of it as a family of cards that match. You can do two pieces or six. Mine ended up at five because I cut the map when I realized everyone uses their phone anyway.
What inserts do I need?
Honestly fewer than the wedding blogs tell you. You need the invite and a way for people to RSVP. After that it is whatever your event actually requires. We had a shuttle and a far-away venue, so a details card with the address and the bus time earned its spot.
I skipped the separate reception card, the accommodations card, the whole pile. Anything I could not justify out loud got cut. If a card only exists because you saw it on Pinterest, it does not need to be in the envelope.
How do I keep it cohesive?
Pick one font and one little graphic, then put them on everything. That is the trick that saved my mismatched fridge. I ran Lovely Hand Script through all of it and dropped the same floral mark in a corner of each piece, big on some, faint on others.
The sneaky part is paper. I printed every insert on the same ivory stock, and that alone made cards from three different sets look like they belonged together. Different fonts on matching paper still read as a set. Matching fonts on three random papers do not. I figured that out at the copy shop, holding two cards up to the window.
Before You Hit Print
If you take one thing from my fanned-out floor in Greenpoint, take the paper tip. Same stock across every piece does more heavy work than any font choice, and I almost skipped it to save four dollars.
Start with a full set so the bones already match, lock in one font, add a monogram you can stamp around, and stop before you add the sixth insert. My suite is in a shoebox now with a coffee ring on the menu. Still my favorite thing I made that whole year.