Our engagement photos sat in a folder for about three weeks before I did anything with them. We shot them in October in a park near my mom’s house, the one with the ugly chain-link fence I kept trying to crop out. The photographer sent us 80 edited shots. I wanted to use all of them and obviously could not.
Here is the thing I figured out around shot 40. Most of those photos look amazing big, on a screen, full bleed. Then you shrink one down to a 5×7 card with a date and two names on top of it, and suddenly his arm is doing something weird and you can’t read anything because the text is sitting on a tree. The photo that wins is almost never the one you’d frame.
So below are the templates and styles I actually tested, mostly on plain paper taped to my kitchen cabinet so I could walk past it for a day. A few of these links are affiliate links. If you grab one it kicks a little back to me, costs you the same either way.
Full disclosure, a few links are affiliate links. Use one and a few cents come back to me, never anything added to your price.
When your photo already has a lot going on
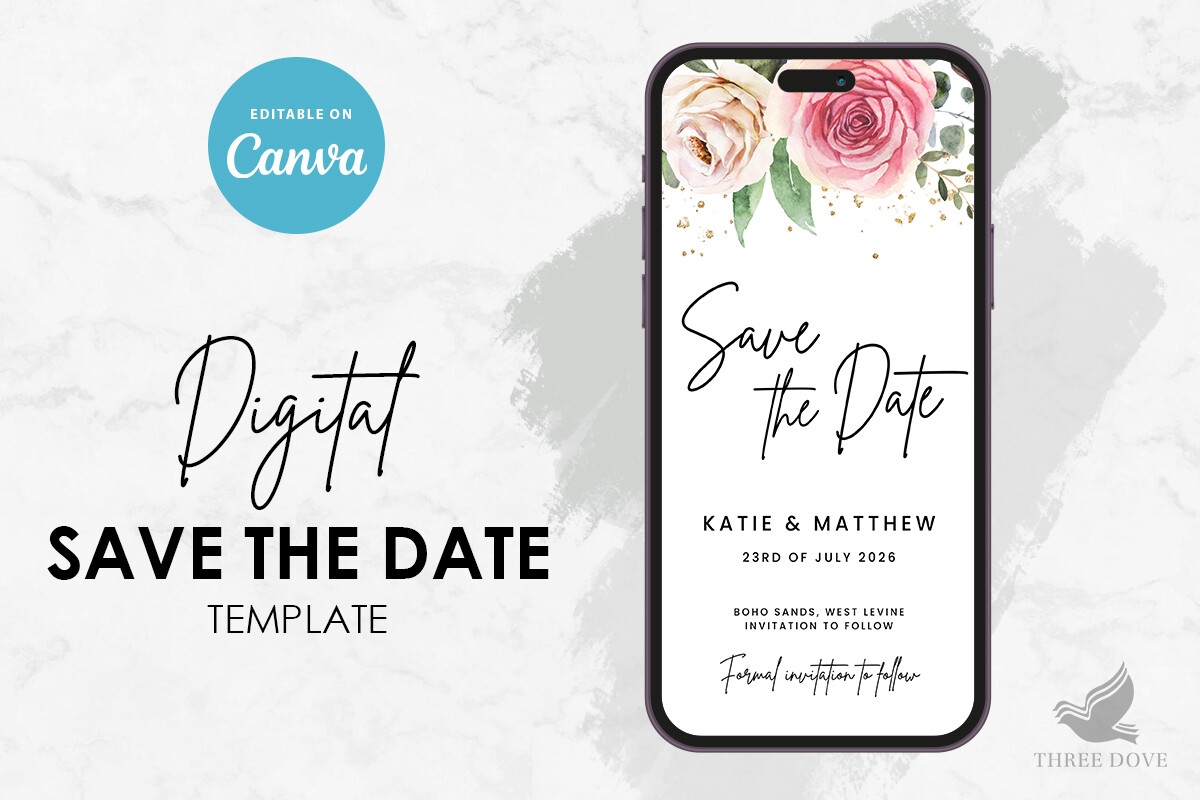
Our engagement shoot was busy. Trees, that fence, a dog that wandered through two frames. I almost skipped anything floral because I thought it’d fight the photo. It didn’t. The flowers on this one sit in the corners and along the bottom, so the middle stays open for the photo and your eye knows where to land.
I dropped in a vertical shot of us on a bench, typed the date, and printed a test on copy paper. Held it up across the room. It read fine from the couch, which is my whole test.
One gripe. The floral art is a touch saturated, so if your photo leans warm like ours did, the pinks can clash a little. I knocked the flower color back a shade and it settled down.
The one I’d hand a friend who says she can’t design
My friend Priya called me in a small panic because she’d booked a venue and had no idea what came next. I sent her this. You type your names and date in, the spacing holds itself together, and it doesn’t blow up the second you swap the photo for a different crop.
She used a black and white shot from her shoot and printed twelve at a copy shop on Garnet Street because her home printer streaks. They came out clean. She texted me a photo of one on her fridge with a magnet shaped like a lemon.
If I’m nitpicking, the default photo box is sized for landscape, so a tall portrait photo gets cropped at the top. Took her one wasted page to notice. Easy fix once you see it.
For when the type is the point, not the photo
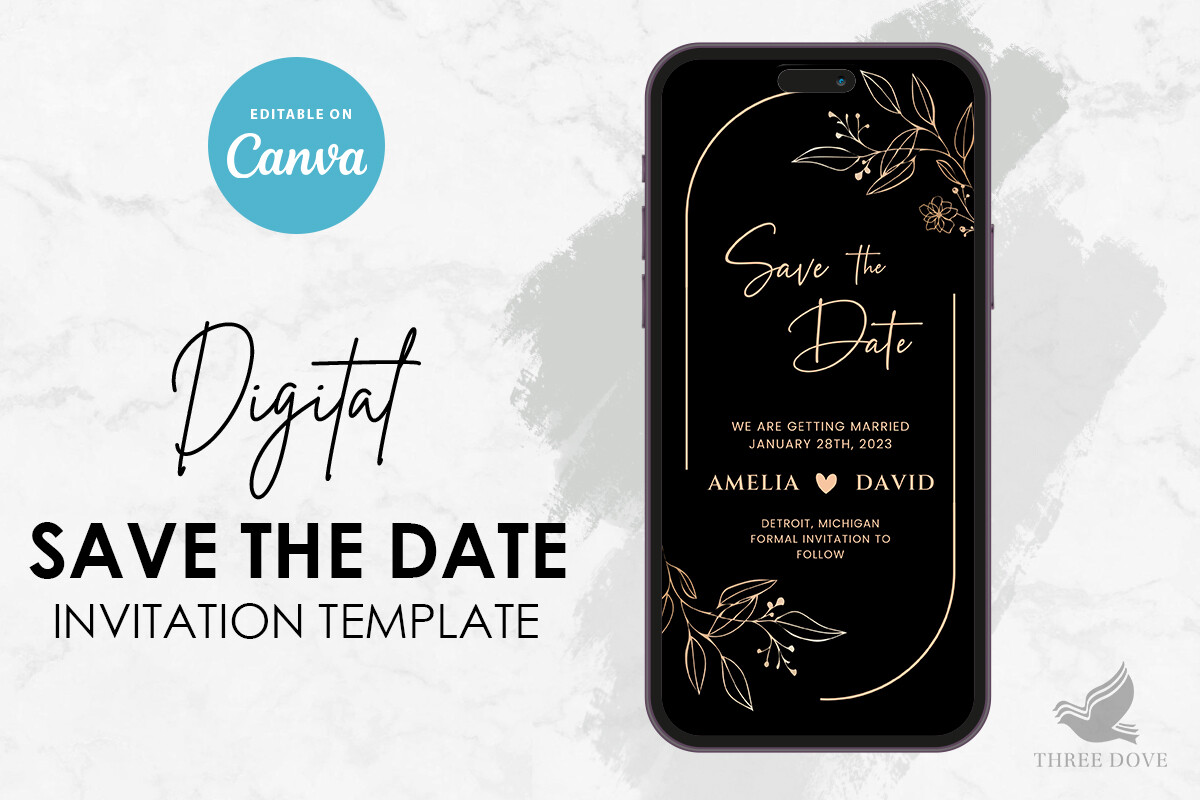
Some of our shots were too pretty to bury under a big floral frame. The close one where you can see I’m mid-laugh, that one just needed a date and our names and nothing else. This is the hand-lettered style for that.
The lettering does the decorating, so you can run a smaller photo or even tuck it to one side. I printed one with the photo small in the bottom corner and the script taking the top half. Looked intentional, like I’d planned it, which I had not.
The catch with hand lettering. It’s thin. On a dim photo it disappears. I bumped the weight before I printed a stack, and even then I’d test it on the actual cardstock, not paper.
Green that doesn’t fight a photo
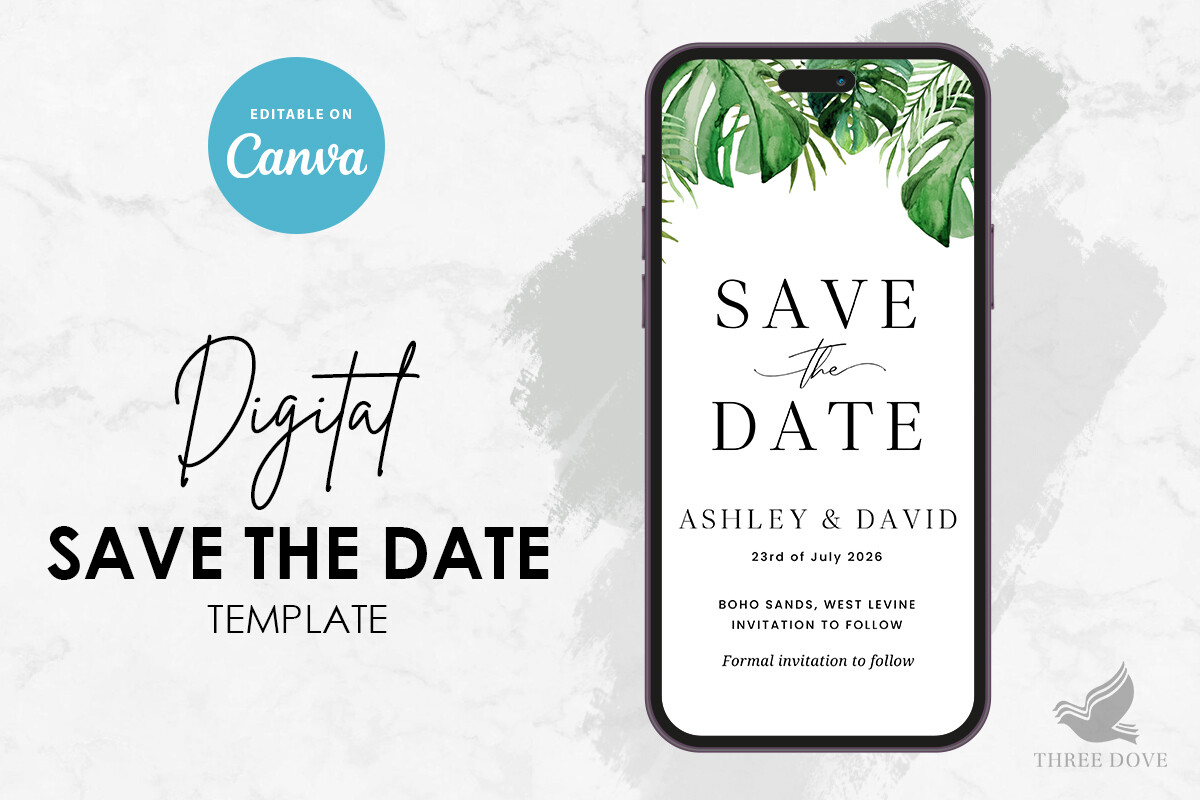
If your shoot was outside and already full of green, you’d think more greenery would be too much. I worried about that. But the eucalyptus on this one is soft and sits at the edges, so it frames the photo instead of crowding it. Worked great with the woodsy shots from our park.
I made one for my cousin’s save the date too. She had a forest shoot, used a wide landscape photo, and the green sort of bled the card into the photo so they read as one thing. She loved it.
My one note, the green can print muddy on a cheap printer. Mine did. The copy shop version was crisp. Worth the four dollars.
If you’ve got a cutting machine and a stubborn streak
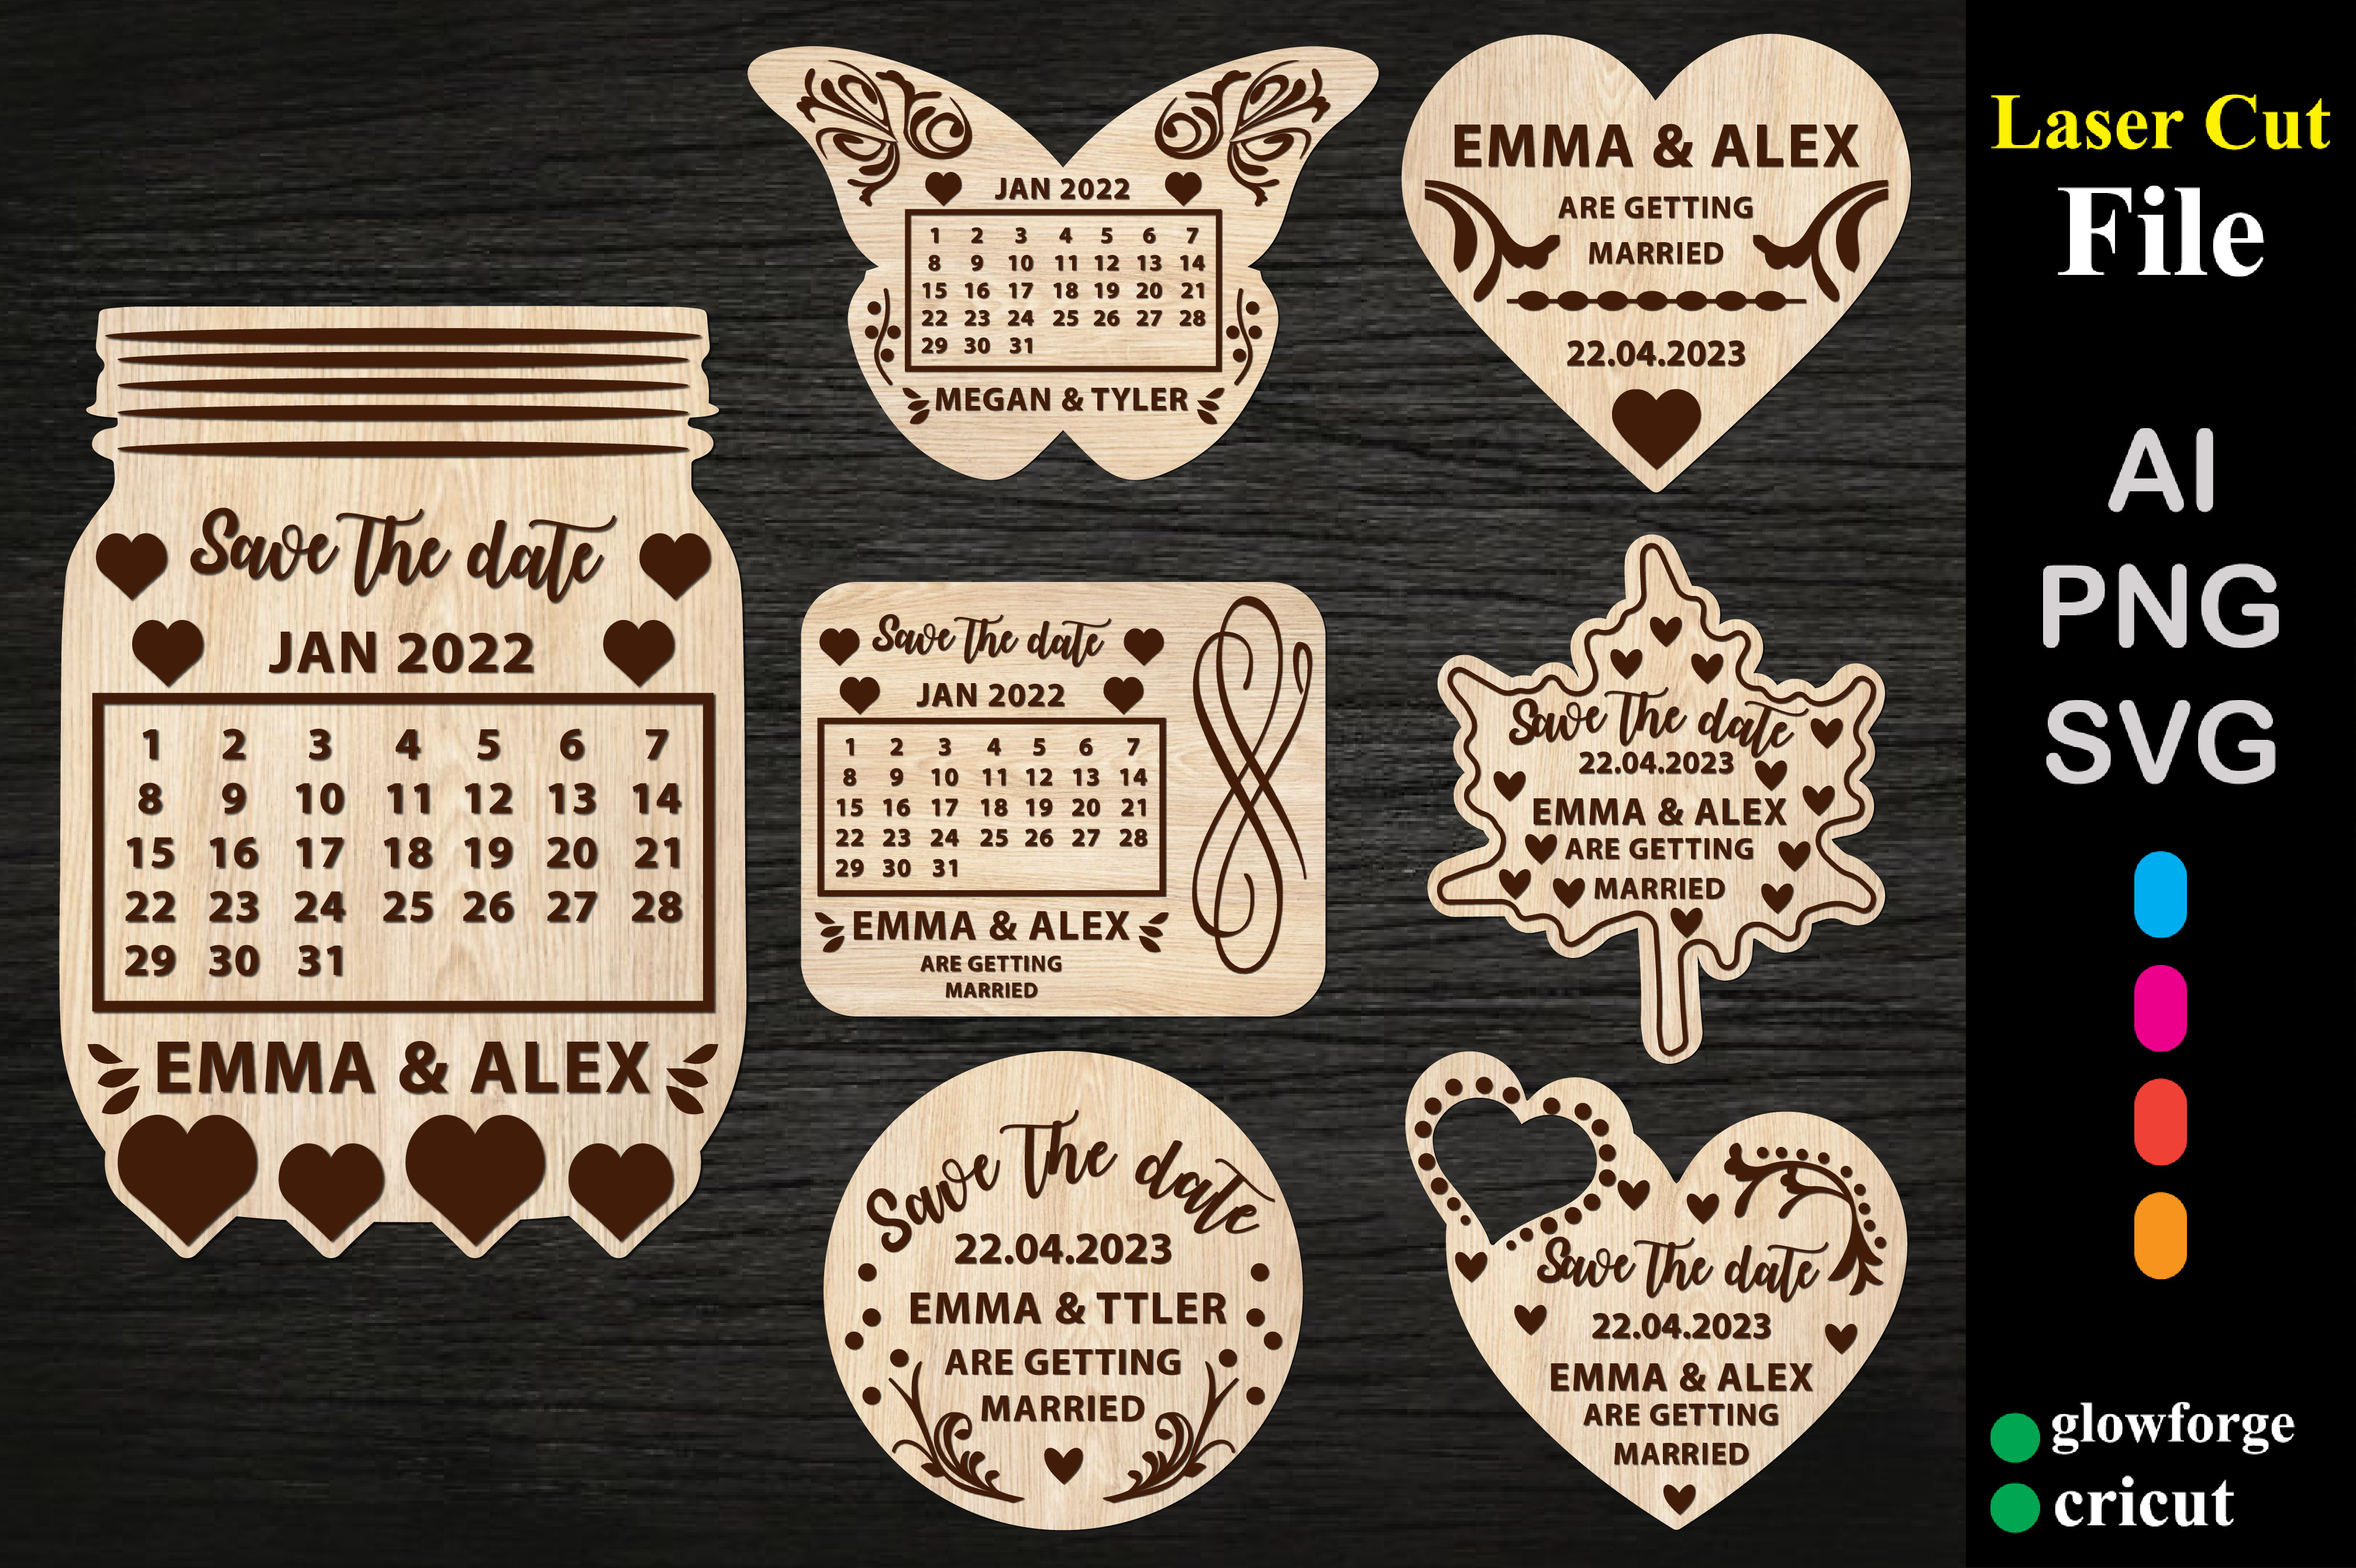
This one is not a printed card. It’s a laser cut file, so you’re cutting the save the date out of thin wood or acrylic. I do not own a laser cutter. My maid of honor does, because of course she does, and she ran a few for me as a test.
We did a small round wood one with our names and the year cut through it, then she mailed it taped to a card with the engagement photo behind it. People kept the wood part. Months later I still saw it on a couple of shelves.
Fair warning, this is the slow option. Each one took her real time to cut and sand, and the thin wood snapped on us twice. I’d only do these for close family, not the whole guest list.
The yellow one I didn’t expect to like
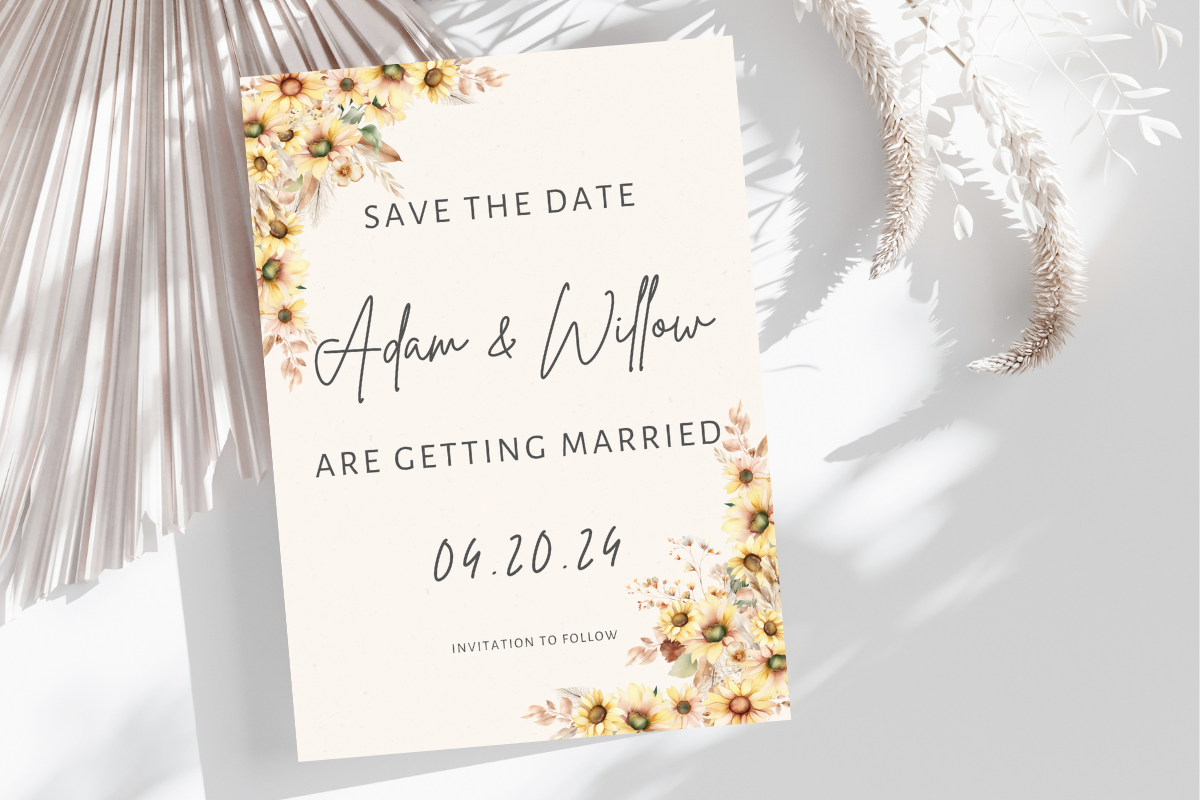
I am not a yellow person. I pinned this almost as a joke. Then I put a sunny outdoor engagement photo behind it and it just worked, warm without being loud, and it made our slightly overcast shoot look like summer.
I printed two and stuck them side by side on the cabinet next to the white floral one. The yellow won by the next morning. It had more life in it from across the room.
The one thing. Yellow is fussy on home printers, mine came out almost lime green on the first pass. I let the copy shop handle the real batch and it matched the screen.
Soft pink for the photos that are already a little dreamy
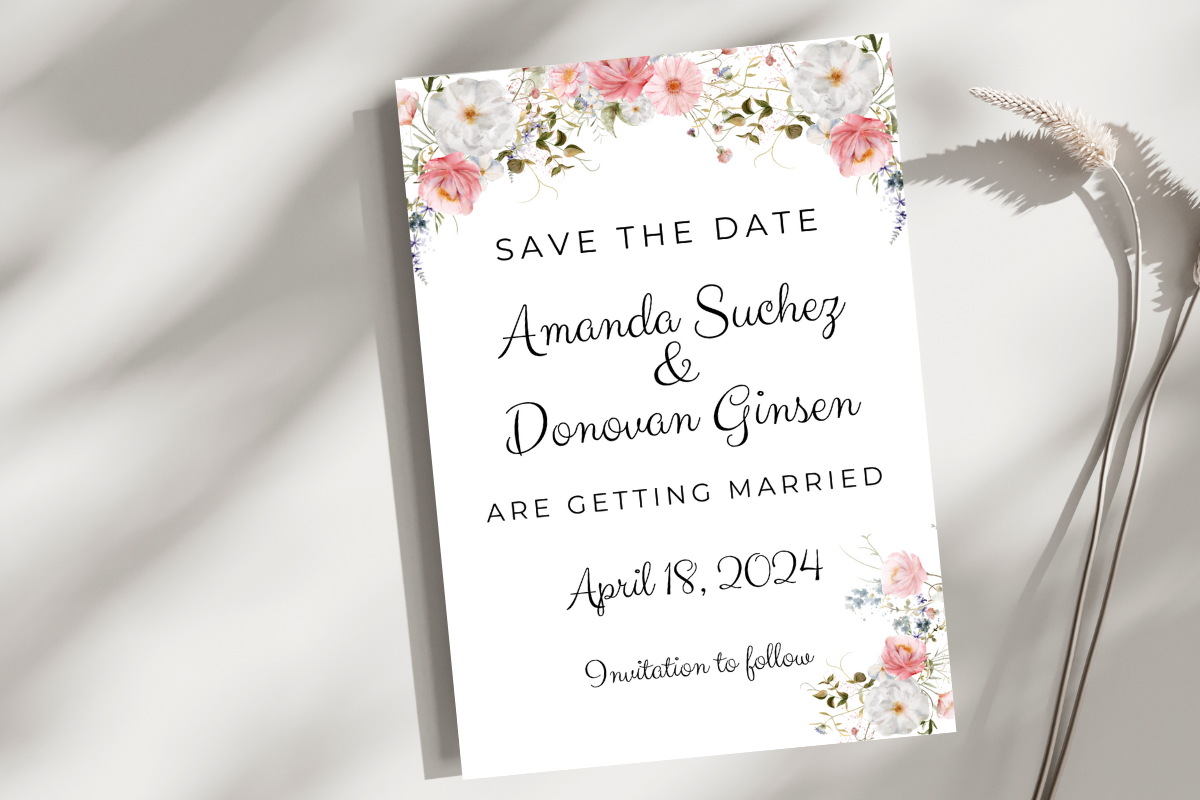
My neighbor had her engagement shoot at golden hour and every photo had this pink haze on it. This card leaned right into that. The pink and white florals picked up the light in her photos, so the card and the photo felt like the same moment.
She printed hers on a slightly heavier cardstock, I want to say 110 lb, and the extra weight made the pinks look richer. The flimsy paper test print did not do it justice at all.
My quibble is the pink runs pale. On a bright white photo it can wash out. She bumped the saturation a hair before printing the stack, and that was that.
Things Brides Email Me About
How do I use engagement photos on a save the date?
Easiest way I know, pick a template with an empty photo box, drop your photo in, type the date and names, print one test on plain paper before you commit to anything.
The part people skip is the test print. I taped mine to a cabinet and lived with it for a day. You catch stuff that way that you’d never see on a screen, like text sitting on a tree branch or a face half in shadow.
Portrait or landscape?
Depends on the photo, honestly. A shot of just the two of you standing usually wants portrait. A wide shot with scenery behind you wants landscape.
I learned this by printing both. The same photo of us on a bench looked cramped in portrait and great in landscape, and I’d have guessed the opposite. Print one of each if you can’t decide. Plain paper, cheap, and your eye will pick fast.
How many photos?
One, mostly. Maybe two if the card is built for it. I tried to cram three on a card once because I couldn’t choose, and it looked like a contact sheet.
If you really can’t pick, do one big photo on the front and save the rest for the wedding website. Nobody needs your whole shoot on a 5×7.
Before You Commit to a Template
The folder of 80 photos is still on my laptop. I used exactly one of them for our save the dates, the laughing one, and I’m glad I didn’t try to honor all the others on a tiny card.
Whatever template you land on, print one before you print fifty. Tape it somewhere you walk past. The card that looks right at arm’s length on your cabinet at 9am is the one to order.